Project Operation Guide
The project is the core work unit of PickWiz, including Robot configuration and communication, Eye-hand calibration, visual Parameter and other functions and Task configurations. It provides an efficient and flexible solution for Robot to complete picking tasks, and meets the needs of many types of industrial scenes such as depalletizing sacks and cartons, disorderly grabbing, orderly loading and unloading, positioning and assembly, etc.
The process of building the project is as follows:

1. Create a new project
When you open the PickWiz software for the first time, you will enter the welcome page. If you need to create a new empty project, please refer to 1.1 Create a new empty project;
For common typical application Scene, you can load the required Scene project from Case Library, which contains the basic configuration data of the Scene, which can debug the configuration more quickly. For details, please refer to [1.2 Create a new project from the case library] (#12-从案例库新建项目).
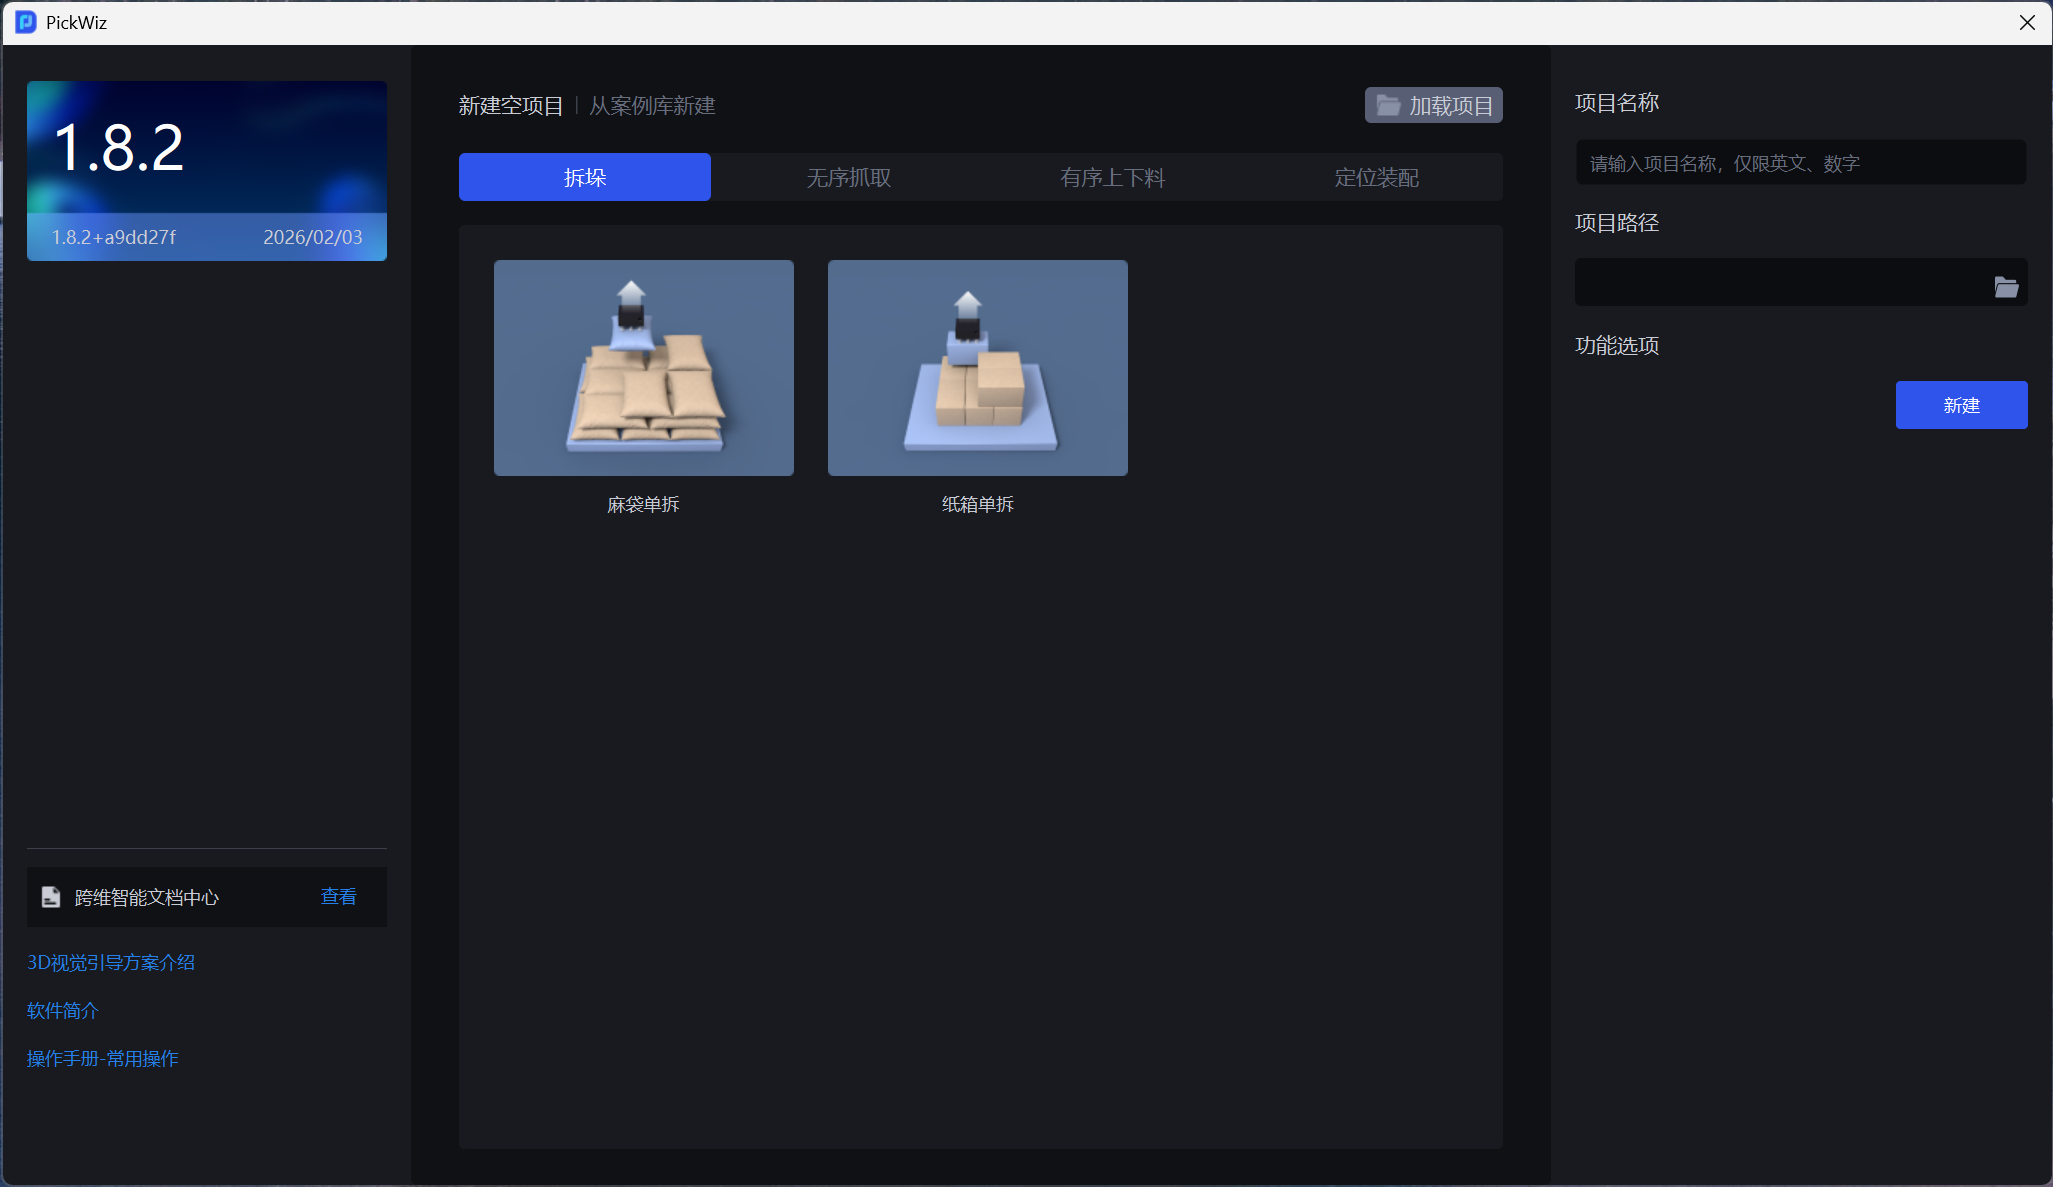
1.1 Create a new empty project
Select TaskScene and press Scene to create a new empty project
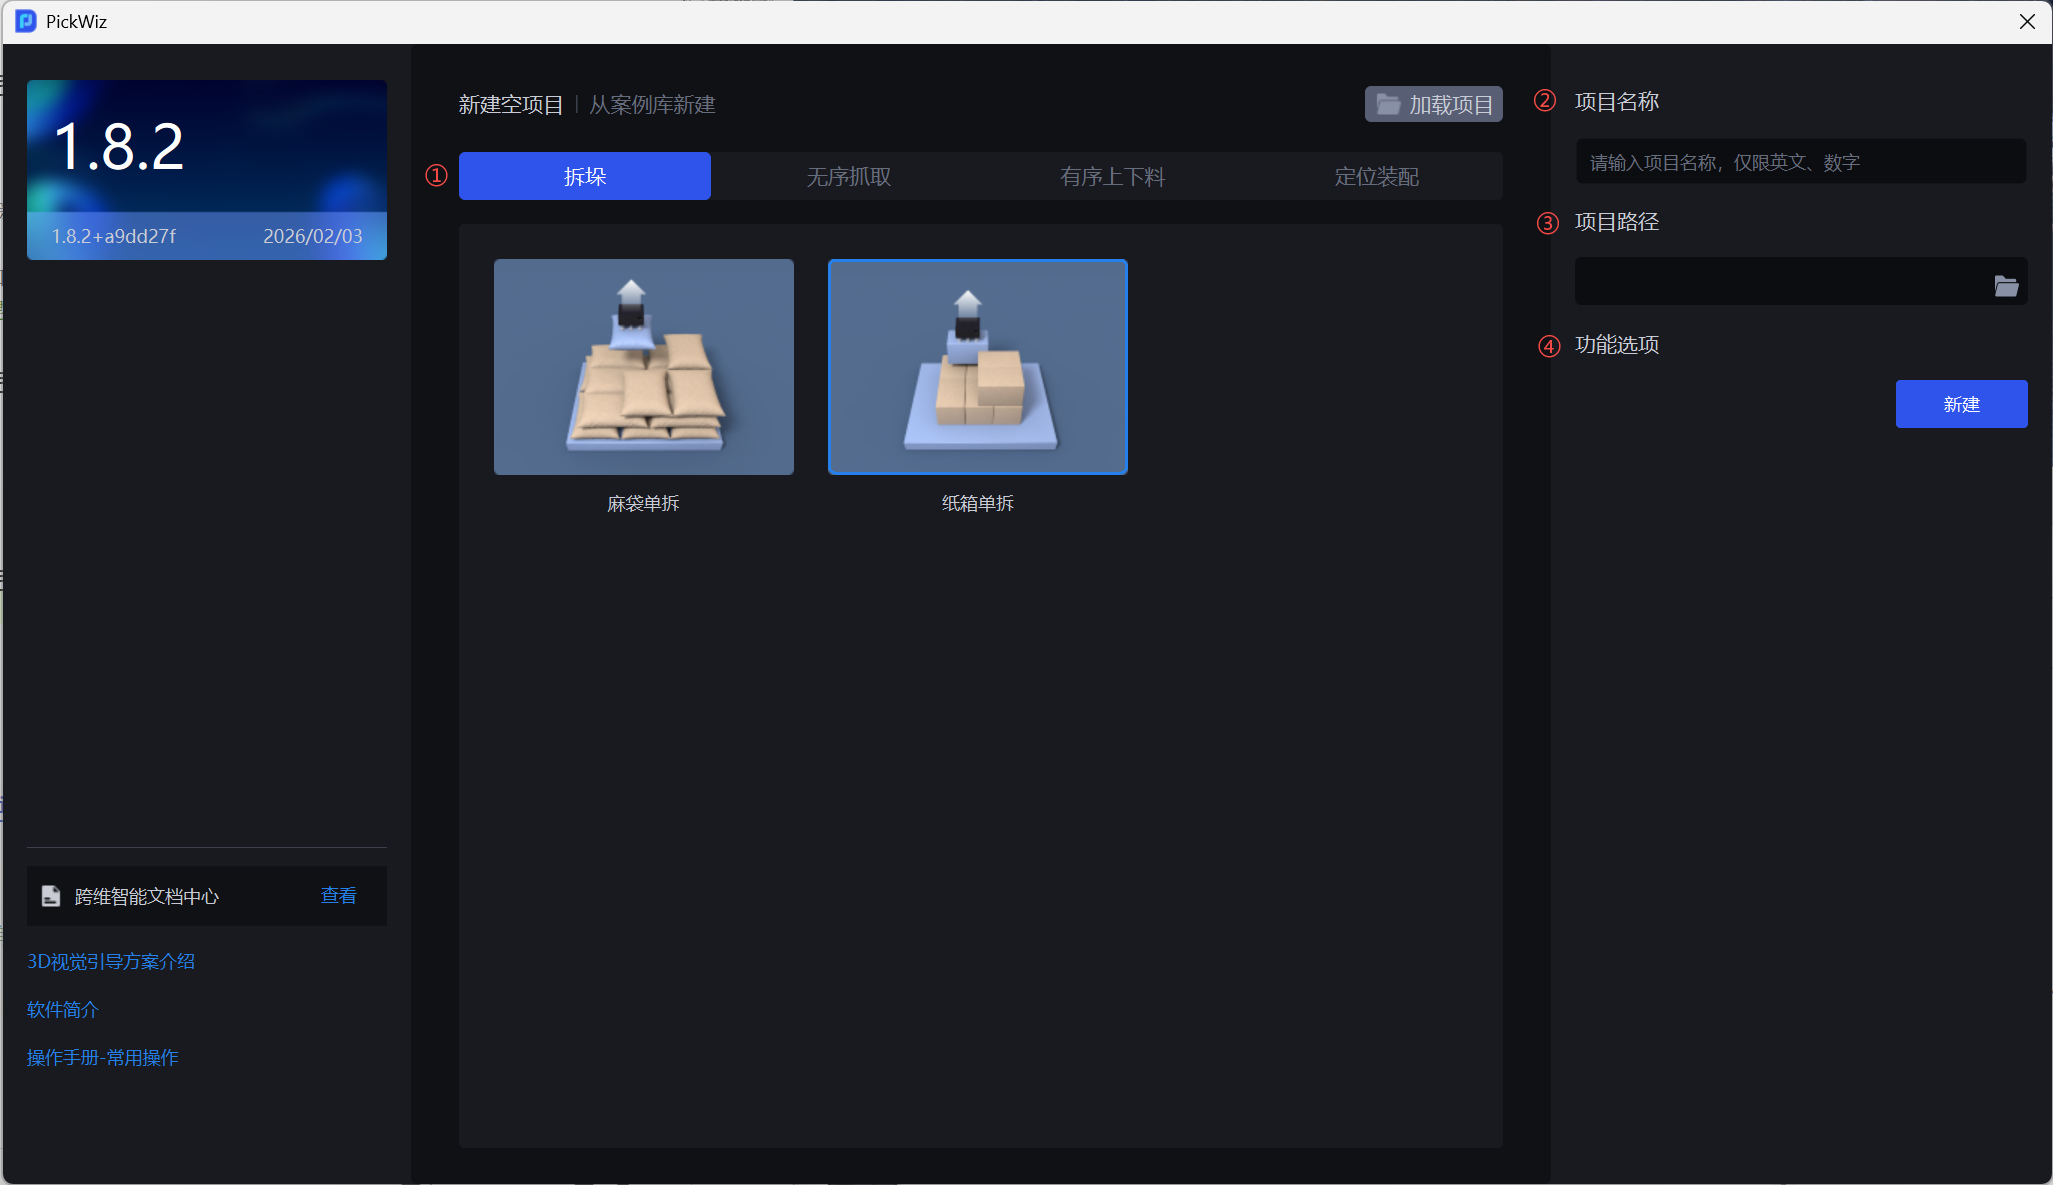
①Select TaskScene
Click the mouse on the Scene image to display the TaskScene introduction.
If the materials are sacks and cartons, please check Depalletizing Scene
If the materials are stacked and disorderly arranged Targets, please refer to Disordered Fetching Scene
If the materials are stacked and orderedly placed Targets, please refer to Orderly Loading and Unloading Scene
If there is only a single Target that needs to be positioned within the camera's field of view, please refer to [Positioning Assembly] (#dingwei)
Depalletizing refers to the process of separating and transporting stacked materials to specific locations one by one.
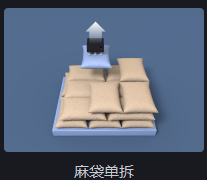
- If the material is a single type of sack, select Single Unpacking of Sacks
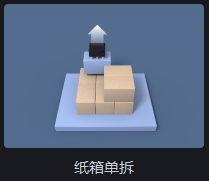
- If the material is a carton, select Carton Single Disassembly
Scene 2: Fetching Scene out of order
The disordered grabbing Scene refers to the robot identifying and grabbing targets that are arranged in an orderly and irregular manner to complete the loading and unloading tasks.
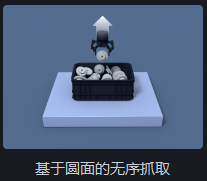
- If the Target is round and arranged randomly and irregularly, select Picking of randomly arranged Circle type target objects
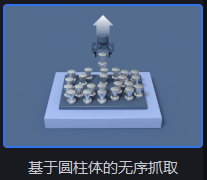
- If the Target is a cylinder and is arranged randomly and irregularly, select Cylinder-based disordered grabbing
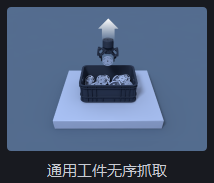
- If the Target is not round or cylindrical, has a large difference between the front and back sides, and is disorderly and irregularly placed, select Picking randomly arranged general type target objects. This Scene is suitable for most disordered grabbing Scenes, but it is not applicable to Targets with small differences between the front and back sides.
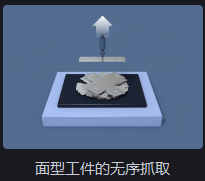
- If the target is not round or cylindrical, the difference between the front and back sides is small, and the target is disorderly and irregularly placed, then select Unordered grabbing of surface-type Target
- If the Target is not round or cylindrical, the difference between the front and back sides is small, the Targets are isolated from each other and arranged disorderly and irregularly, then select Surface Target loading and unloading (materials are isolated from each other)
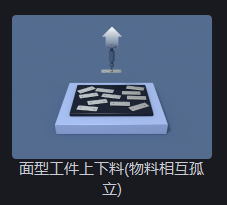
Scene 3: Orderly loading and unloading Scene
The orderly loading and unloading scene refers to the robot identifying and grabbing the targets placed in an orderly and regular manner to complete the task of loading and unloading materials.
- If the Target is round and arranged regularly and orderly, select Loading and unloading of Circle type target objects
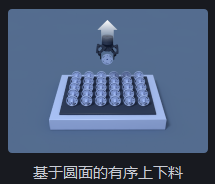
- If the Target is a cylinder and is placed in a regular and orderly manner, select Ordered loading and unloading based on cylinder
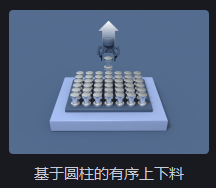
- If the Target is quadrilateral and placed in a regular and orderly manner, select Loading and unloading of Quadrilateral type target objects
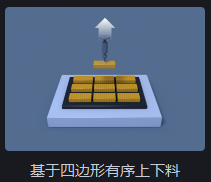
- If the Target is not a cylindrical quadrilateral with a large difference between the front and back sides and is arranged in a regular and orderly manner, select Loading and unloading of neatly arranged general type target objects. This Scene is suitable for most ordered loading and unloading scenes, but it is not applicable to Targets with small differences between the front and back sides.
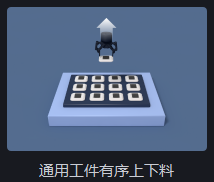
- If the target is not a round cylindrical quadrilateral, the difference between the front and back sides is small, and the target is arranged in a regular and orderly manner, then select Organized loading and unloading of surface-type Target
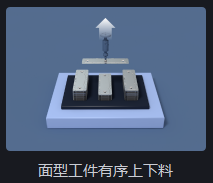
- If the target is not a cylindrical quadrilateral with a round surface, the difference between the front and back sides is small, and the front and back sides are arranged in a regular and orderly manner, and it is also necessary to significantly reduce the visual calculation time, then choose Ordered loading and unloading of surface-type Target (parallelization)
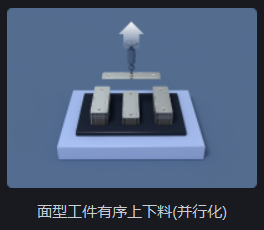
- If the target is not a cylindrical quadrilateral with a small difference between the front and back sides and is arranged in a regular and orderly manner, and rapid deployment is required, select Loading and unloading of neatly arranged plane type target objects (image matching)
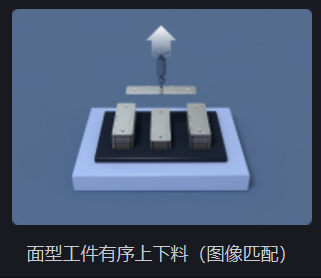
Scene four: Positioning assembly
Positioning assembly means that there is only a single Target that needs to be positioned within the camera's field of view, such as single-target precise positioning of the charging head so that the robotic arm can accurately insert and remove the charging head.
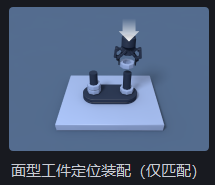
- If there is only a single Target that needs to be positioned within the camera's field of view, the difference between the front and back of the Target is small, and the Target position changes little (ROI 3D can completely frame the Target, please see [ROI Operation Guide] (ROI操作指南.md) for details about ROI 3D), then select Plane type Target positioned assembly (only Point Cloud matches)
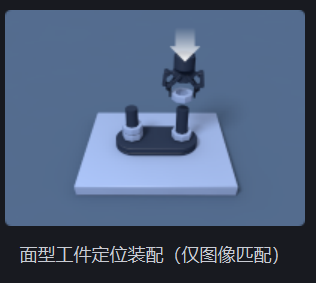
- If there is only a single Target that needs to be positioned within the camera's field of view, the difference between the front and back of the Target is small, and the Target position does not change much (ROI 3D can completely frame the Target, please see [ROI Operation Guide] (ROI操作指南.md) for details about ROI 3D), then select Plane type Target positioned assembly (image matching only)
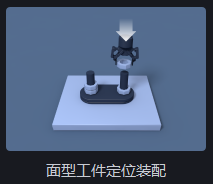
- If there is only a single Target that needs to be positioned within the camera's field of view, the difference between the front and back of the Target is small, and the Target position changes greatly (ROI 3D cannot completely frame the Target, please see [ROI Operation Guide] (ROI操作指南.md) for details about ROI 3D), then select Plane type Target positioned assembly
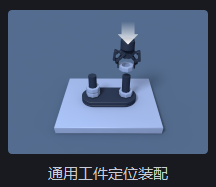
- If there is only a single Target that needs to be positioned within the camera's field of view and the difference between the front and back of the Target is large, select General Target positioned assembly. This is not applicable to Targets with small differences between the front and back.
②After selecting TaskScene, fill in the project name. The default is "new_project" + project serial number, which can be modified by yourself.
The project name cannot contain Chinese characters or spaces.
③Select Project Path, the default project storage path is C:\Users\dex\Documents\PickWiz,可自行修改
④Check the function options
Each Scene has multiple Task types, and each Task type corresponds to multiple function options, which can be selected according to actual working conditions.
| Function options | Description |
|---|---|
| Instance Optimization | optimizes the model generated instance and processes the instance mask. |
| Pallet Detection | is used to detect the bottom bracket. After checking, the visual Parameter interface will add Pallet Detection related Parameters. For the specific process, please refer to the Pallet Detection User Guide |
| Partition and Pallet Detection | is suitable for scenes where there are partitions between each layer of materials and a bottom bracket. The three data types of partitions, bottom brackets, and targets can be entered separately through visual classification. For the specific process, please refer to the Partition and Pallet Detection User Guide |
| Collision detection | is used to detect the collision between the End-effector and the container, and filter the grabbing gestures that may collide; after checking, you need to configure the container-related Parameters in "Scene Object", and the visual Parameter interface will add collision detection-related Parameters. For the specific process, please refer to the Collision Detection Usage Guide. |
| Type Identification | uses a deep learning model to identify multiple types of Targets; after checking, you need to configure multiple types of Targets according to your needs on the Target interface, and then use the built-in one-click connection training model. For specific procedures, please refer to the Type Identification User Guide |
| Local Identification | locates the Target through its local characteristics; after checking, you need to configure the overall information and local information of the Target according to your needs on the Target interface, and then use the built-in one-click connection training model. For specific procedures, please refer to Local Identification User Guide |
| Front-Back Identification (via Point Cloud template) | can import the Point Cloud templates of the front and back sides of the Target to match and capture the front or back sides of the Target, and the Pick Point can be set separately for the front or back sides of the Target. For the specific process, please refer to Front-Back Identification (via Point Cloud template) User Guide |
| Visual classification | is used to identify different textures, orientations and other features of the same Target. After turning it on, different types of characteristics of the same object can be entered on the Target interface, and related parameters can be set on the visual Parameter interface. For specific procedures, please refer to the Visual Classification User Guide |
1.2 Create a new project from the case library
- Switch to
New from Case Libraryon the welcome page and select the required Scene project
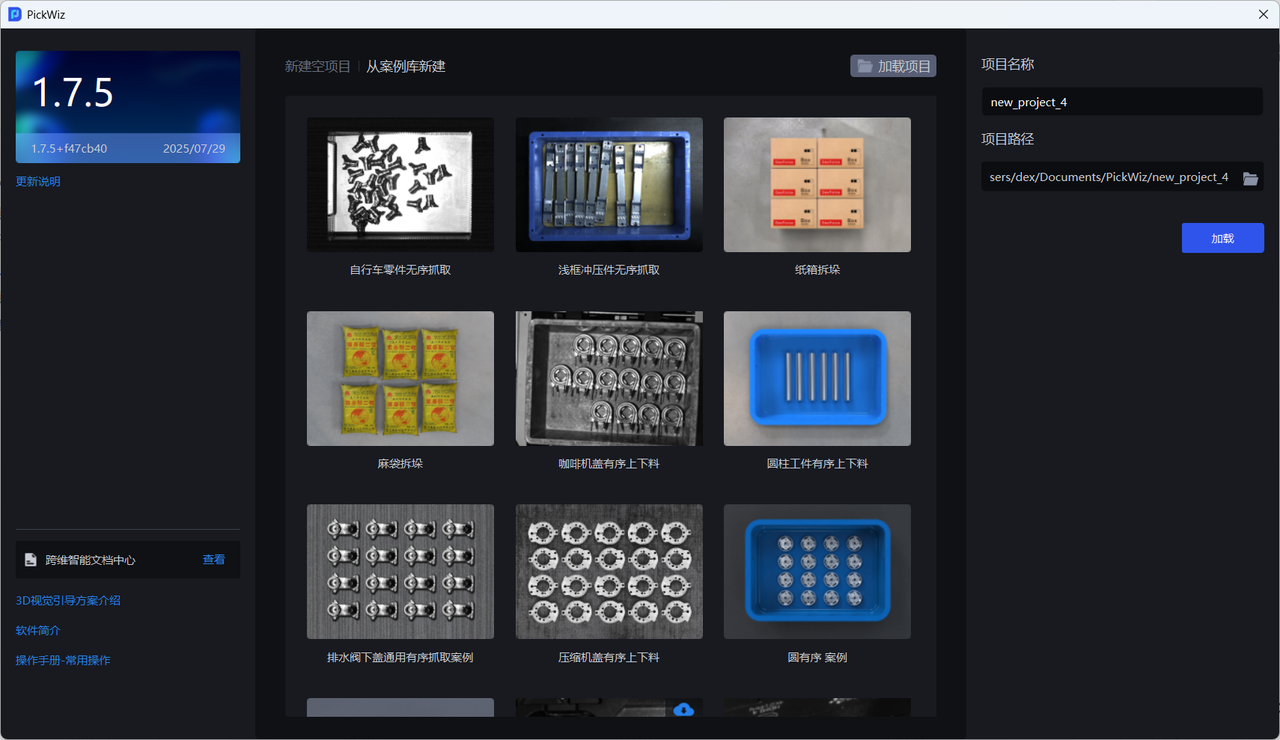
- If you are using this case for the first time, you need to click the
Downloadbutton to download the project configuration.
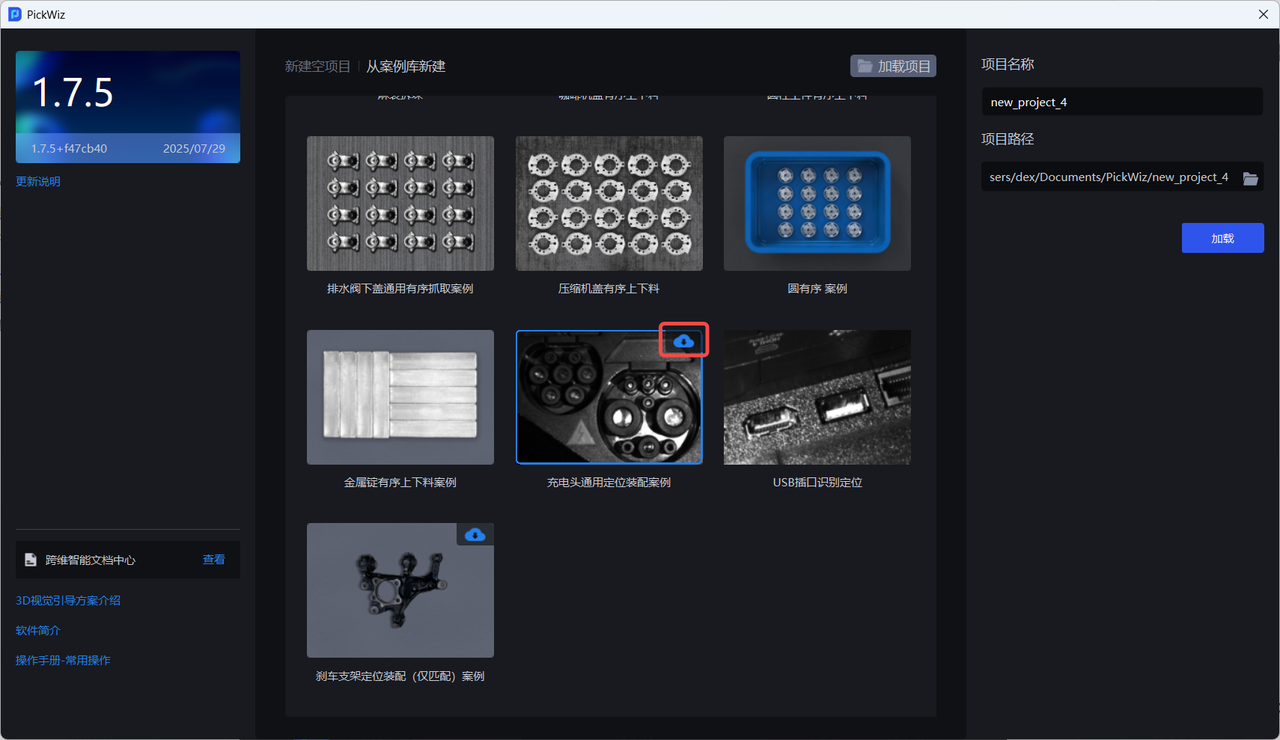
- After downloading the project configuration of this case, fill in the project name and project path.
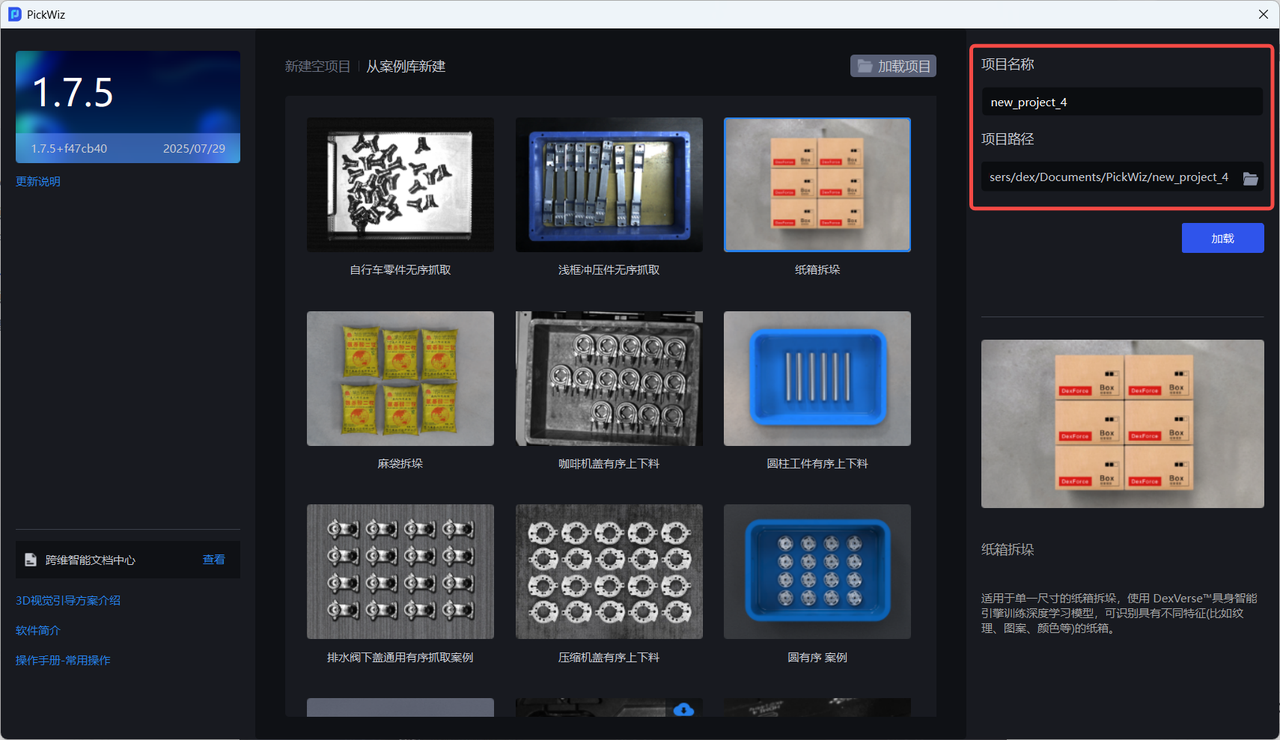
2. Load project
If you need to open an existing project on the disk, click Load Project on the welcome page
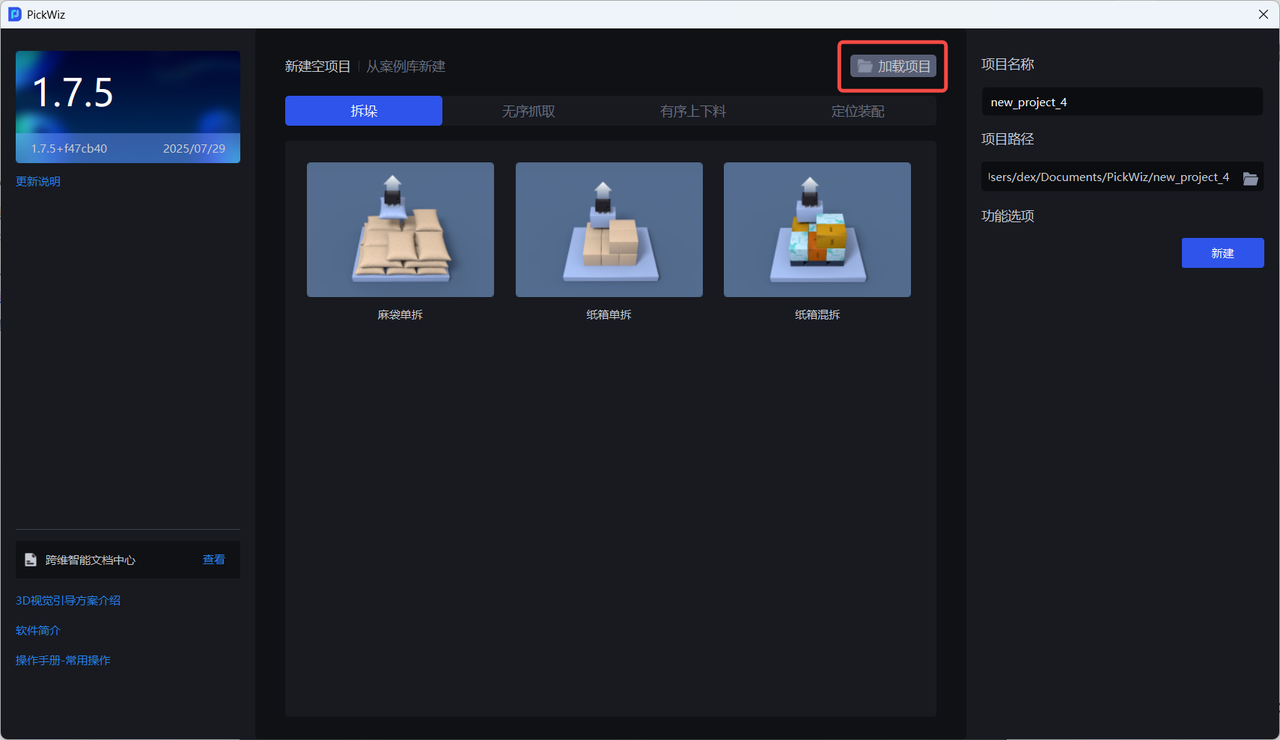
Open the corresponding project folder, select the project, and click Select Folder. The default project storage path is C:\Users\dex\Documents\PickWiz。
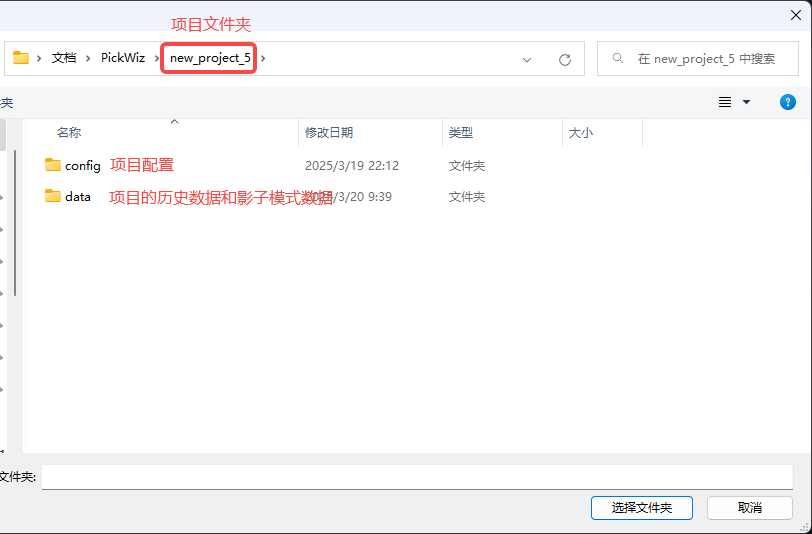
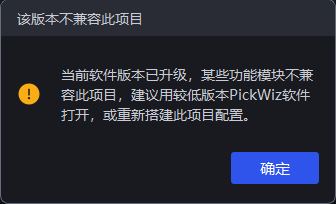
If the following incompatibility issues occur when opening a project, please use a lower version of PickWiz software to open the project. If necessary, please contact Dexforce technical support personnel
3. Project configuration
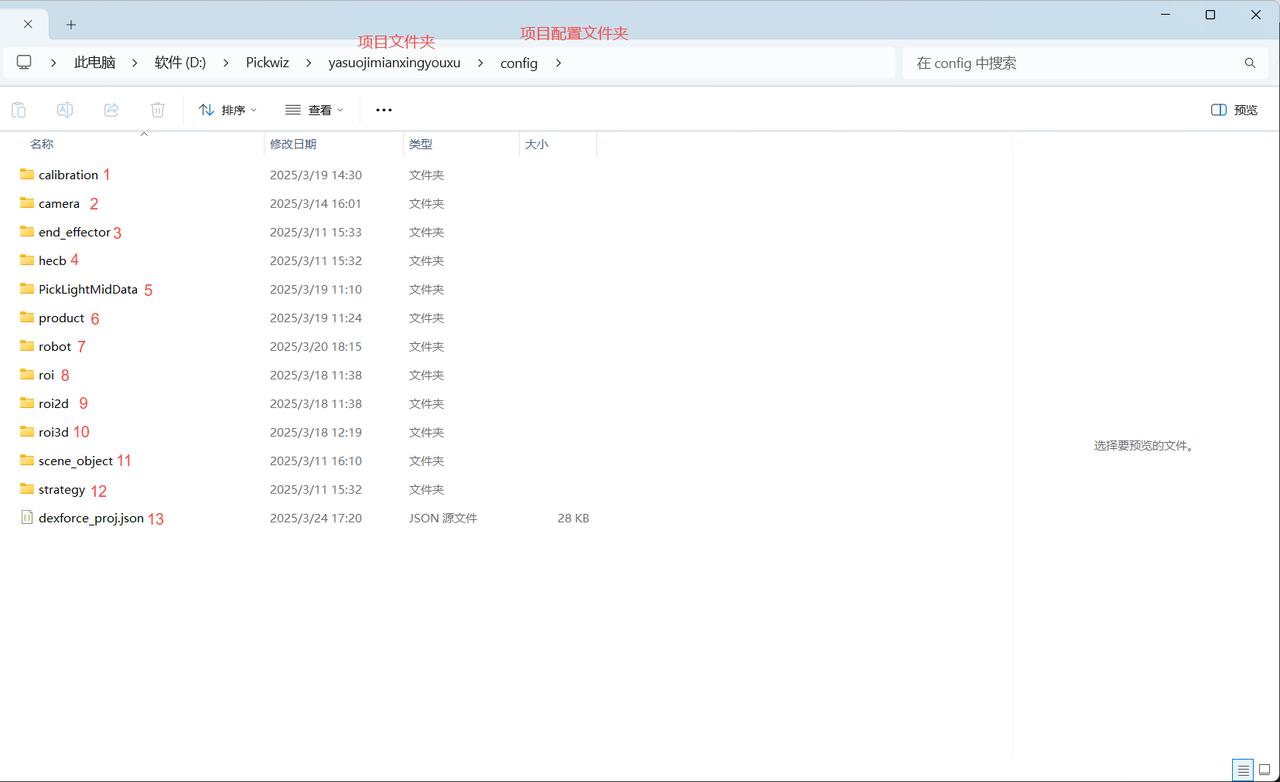
Open the project configuration folder config to view the project configuration data, as shown in the figure below
Notice
It is not recommended to modify the project configuration folder, otherwise PickWiz may report abnormal errors and cannot be used normally.
| serial number | Folder name | configuration name | Description |
|---|---|---|---|
| 1 | calibration | Eye-hand calibration (new version) | stores the Eye-hand calibration (new version) configuration | when the current Task is running
| 2 | camera | Camera | stores the Camera and CameraParameter | when the current Task is running
| 3 | end_effector | End-effector | stores the End-effector configuration | when the current Task is running
| 5 | PickLightMidData | Visual configuration | stores the configuration corresponding to the visualization window |
| 6 | product | Target | stores the Target configuration of the current Task |
| 7 | robot | Robot | stores the Robot | when the current Task is running
| 8 | roi | ROI | stores the ROI configuration when the current Task is running |
| 9 | roi2d | ROI 2D | stores the ROI 2D configuration of the current Task runtime |
| 10 | roi3d | ROI 3D | stores the ROI 3D configuration | when the current Task is running.
| 11 | scene_object | Scene Object | stores various objects in the actual Scene of the current Task, including material frames, bottom brackets, etc. |
| 12 | strategy | Visual Parameter | stores the visual Parameter configuration | when the current Task is running
| 13 | dexforce_proj.json | Root Profile | The root configuration file of theproject. The configurations corresponding to all tasks of the project are specified in this file |
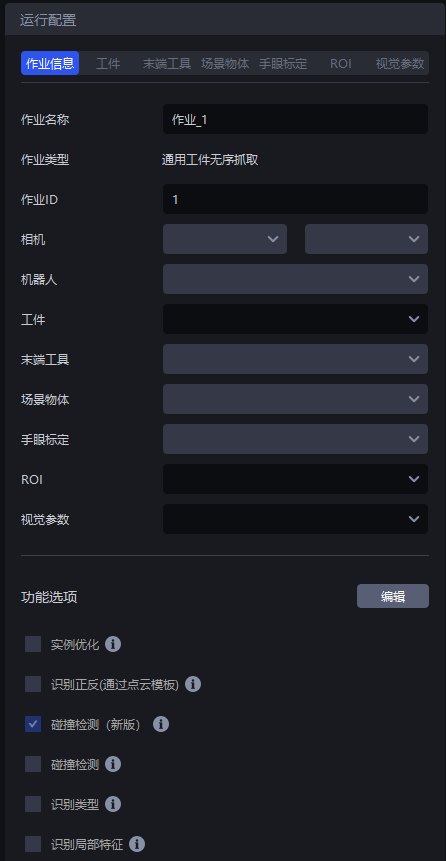
After creating a new project, Pickwiz will create a default Task, and the project configuration data can be compared with the Task information.
| Label | Description |
|---|---|
| Task name | The name of the current Task, which can be modified |
| Task type | The type of the current Task, i.e. TaskScene, corresponds to the TaskScene selected when creating a new Task and cannot be modified |
| TaskID | Identifies the current Task. Robot can switch Tasks through this ID |
| Camera | Camera & CameraParameter when the current Task is running. To connect the Camera and adjust the Camera imaging, please refer to Camera Connection and Parameter Adjustment Guide |
| Robot | The Robot when the current Task is running. To establish communication with the Robot, please refer to Robot Configuration and Communication Operation Guide |
| Target | The Target configuration of the current Task is configured to the Task information after adding it in the Target interface. To add a new Target, please refer to Target Operation Guide |
| End-effector | End-effector configuration when the current Task is running. Configure it to the Task information after adding it in the End-effector interface. To add an End-effector, please refer to End-effector User Guide |
| Scene Object | Various objects in the current TaskScene, including material frames, bottom brackets, etc., check Collision Detection, Pallet Detection, Partition and Pallet Detection in Function Options before the Scene Object interface will appear. After adding a Scene Object, you need to configure it to the Task information. For the specific process, please refer to [Pallet Detection User Guide] (../功能选项/底托检测使用指南.md), Collision Detection User Guide, Partition and Pallet Detection User Guide |
| Eye-hand calibration | The Eye-hand calibration configuration when the current Task is running is configured to the Task information after adding it in the Eye-hand calibration interface. For the specific process, please refer to [Eye-hand calibration Operation Guide] (../手眼标定/手眼标定操作指南.md) |
| ROI | The ROI configuration when the current Task is running is configured to the Task information after adding it in the ROI interface. For the specific process, please refer to ROI Operation Guide |
| Visual Parameter | The visual Parameter configuration when the current Task is running is configured in the Visual Parameter interface. For the specific process, please refer to the Visual Parameter Adjustment Guide |
| Function options | Click "Edit" to select "Collision Detection", "Type Identification", "Local Identification", "Pallet Detection" and other working condition attributes. Select the working condition attributes related to the project. PickWiz will match the functional configuration of the adapted working condition based on the selected working condition attributes, that is, add the configuration related to the selected working condition in related configurations such as Target and Visual Parameter. For related functions, please refer to the Function Options User Guide |