Calibration Verification
Before calibration, it is necessary to eliminate the influence of the following three factors on the error of the calibration results:
First, there are errors in the CameraIntrinsic Parameter, including lens focal length, principal point coordinates, and distortion coefficients. These errors will distort the image information, thereby affecting the accuracy of the calibration results. For such errors, the Camera accuracy needs to be corrected to ensure the accuracy of the CameraIntrinsic Parameter.
Secondly, there are errors in the Point Cloud captured by the Camera, with problems such as noise, deletion or distortion. The Point Cloud cannot truly reflect the posture of the Target. It is usually necessary to adjust the Camera imaging Parameter to ensure that the Point Cloud can truly reflect the Target attitude and provide accurate data support for calibration.
Third, Robot has errors. Affected by the mechanical structure of the robot arm and the accuracy of transmission components, the robot arm itself has absolute accuracy limitations, which leads to a certain deviation in the positioning of the end-effector, which in turn affects the accuracy of the calibration results. For this reason, the accuracy of the Robot needs to be verified to reduce the error caused by the accuracy limit of the robotic arm to the calibration process.
1. Calibrate Camera accuracy
Before correcting the camera accuracy, you should turn on the "Show overexposure area" to check the exposure level of the Camera imaging. If there is an overexposed area, you should adjust the "Exposure Time" of the "Single Exposure" to ensure that the Camera imaging exposure is normal.
After the correction is completed, the CameraParameter should be switched back to its original configuration.
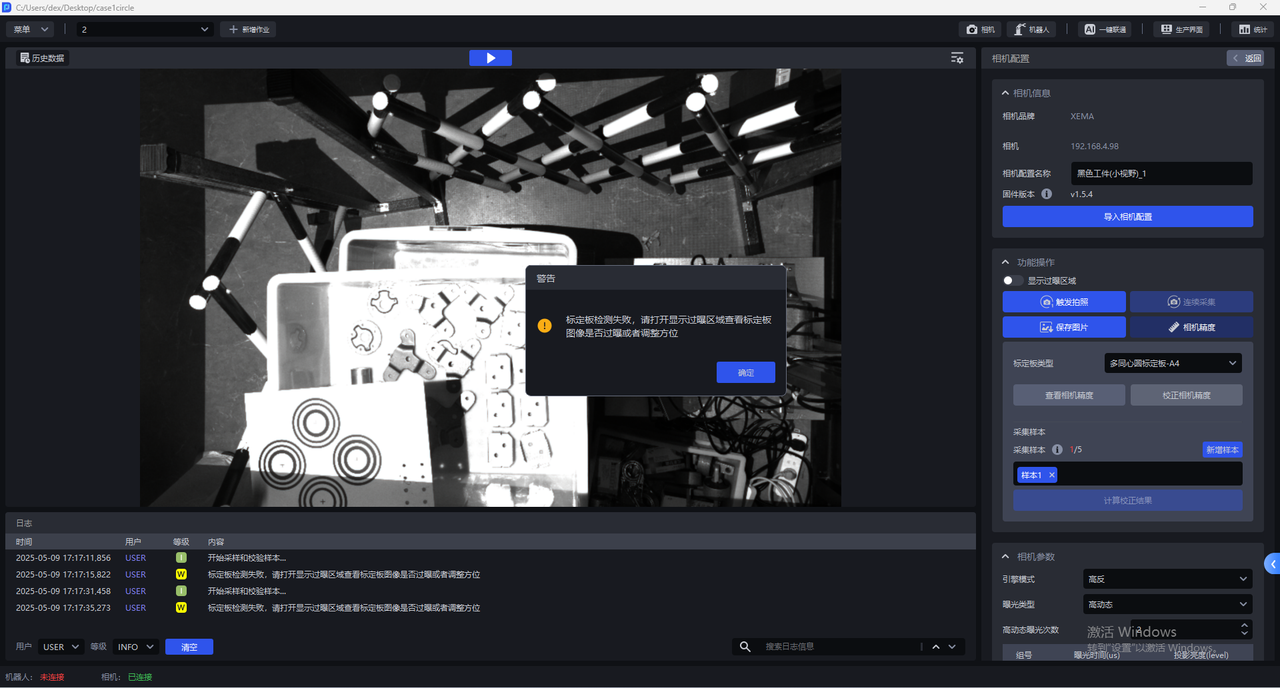
- Click
Camera Precisionin the Camera configuration interface
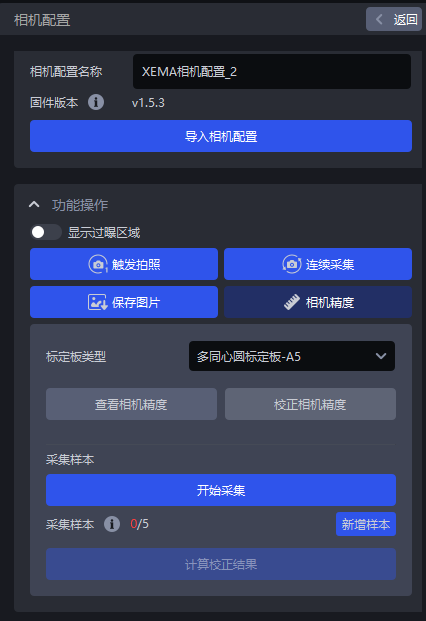
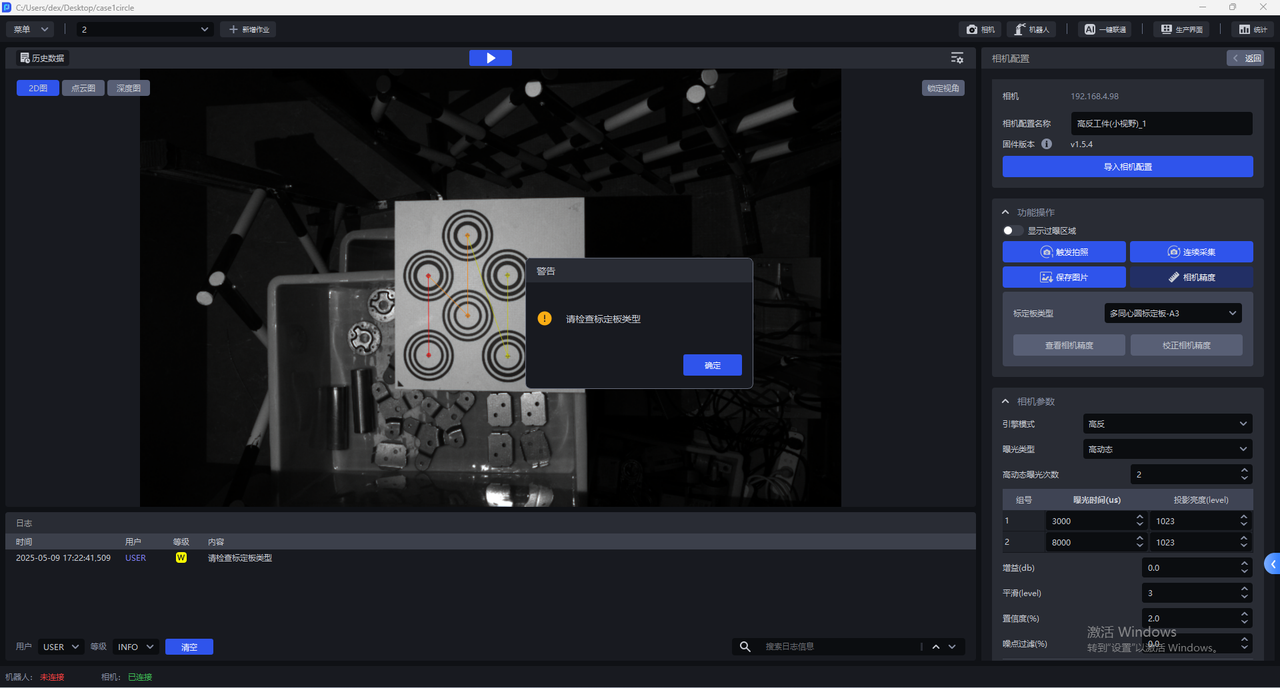
- Select the corresponding Calibration Board. If the selected Calibration Board does not match the actual one, a pop-up warning "Please check the Calibration Board type" will pop up. As shown in the figure below, the actual Calibration Board is A4. If the Calibration Board type is A3, a pop-up warning will pop up.
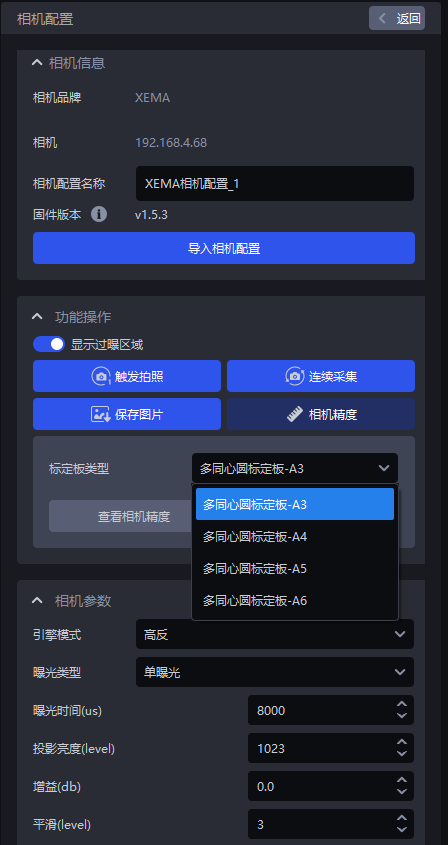
- After selecting the correct Calibration Board type, click
Calibrate Camera Accuracy
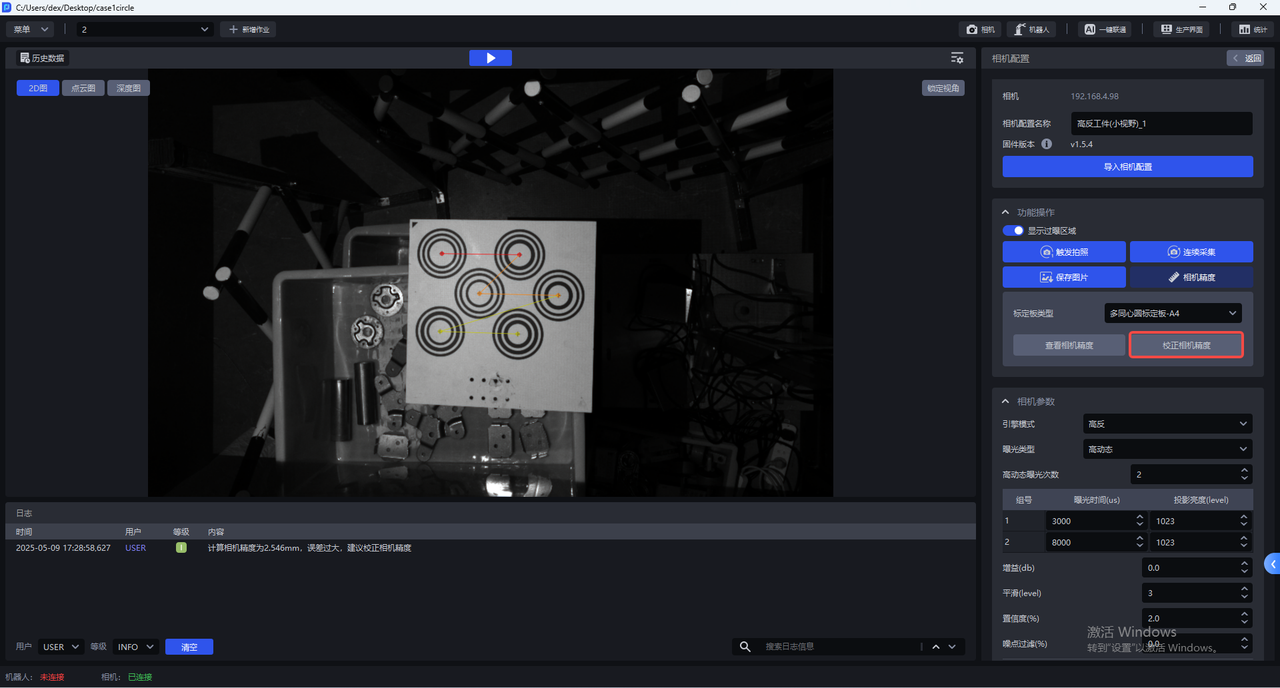
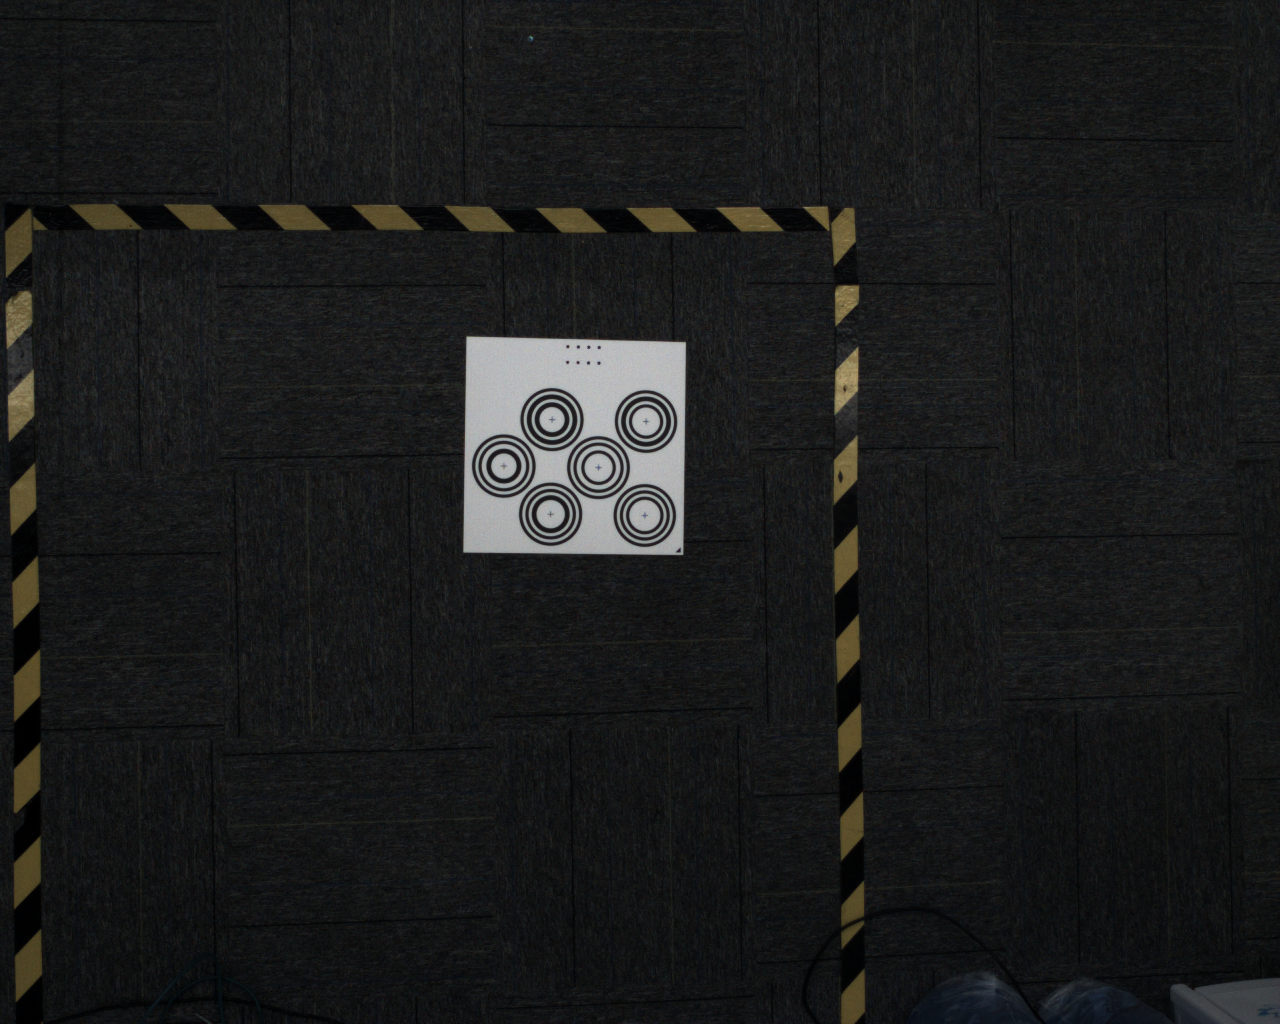
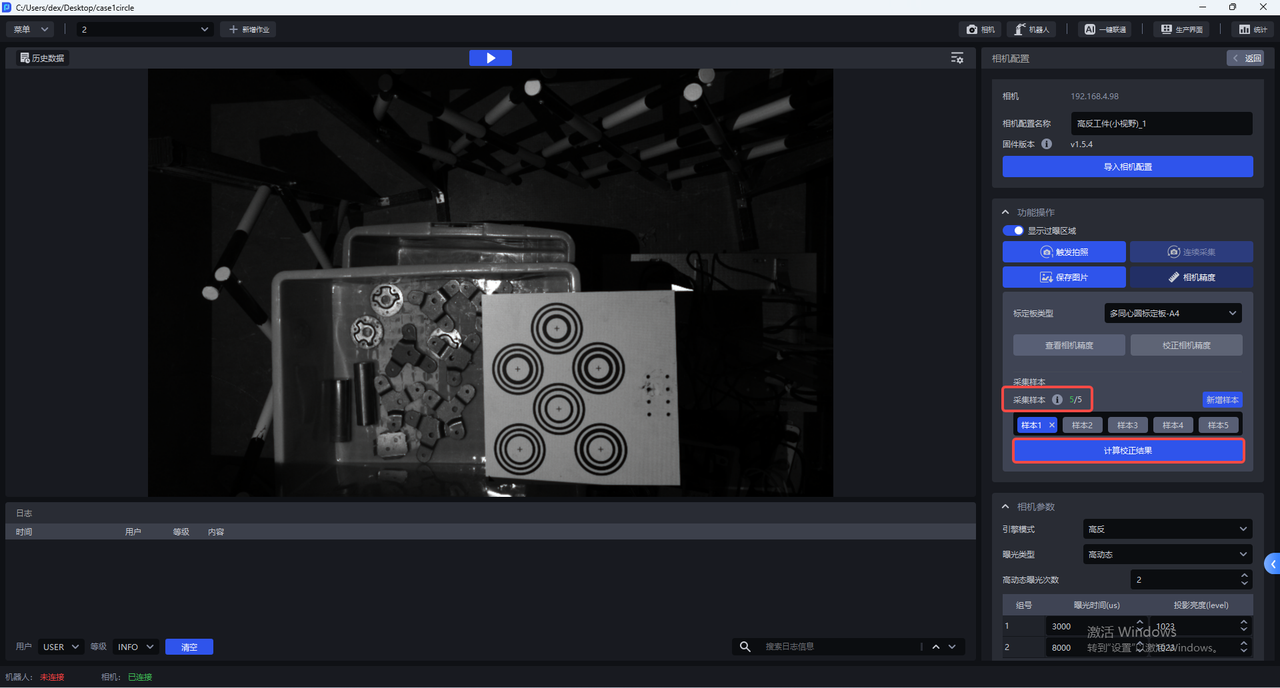
- Place the Calibration Board horizontally in the center of the Camera's field of view, click "Add Sample", and the Camera will start sampling and verifying the sample. If the collected sample passes the verification, it will be added under "Collect Sample", as shown in the figure below
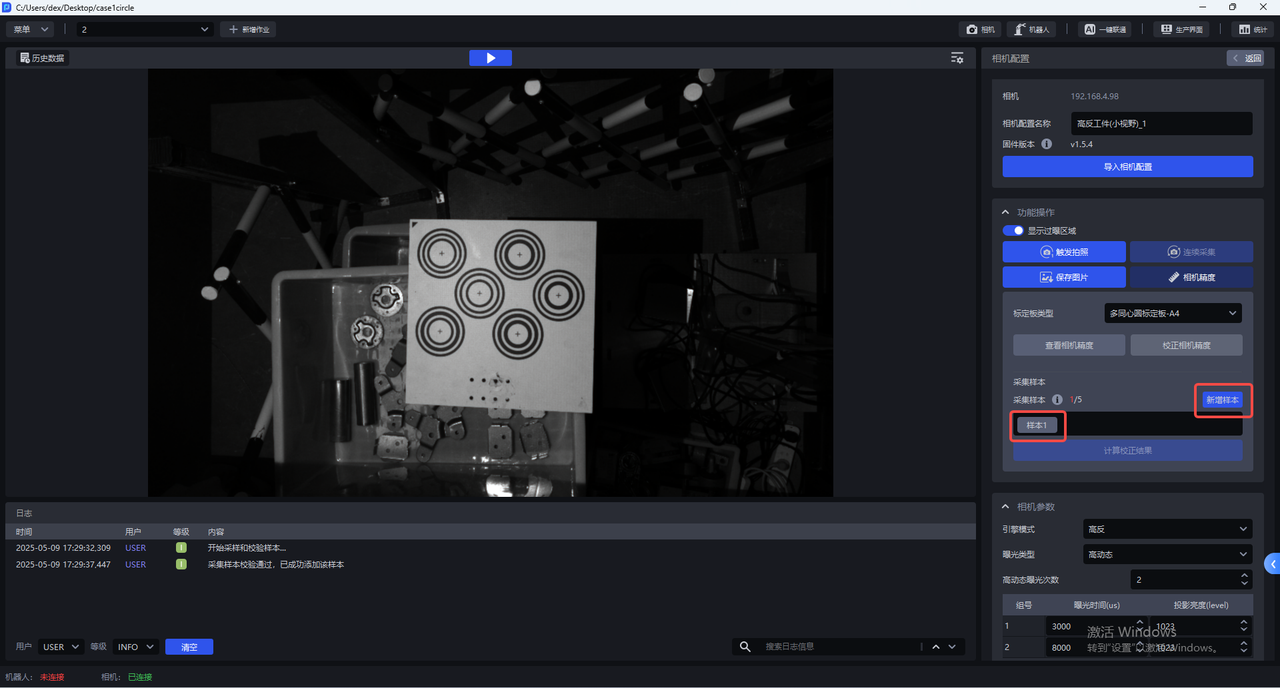
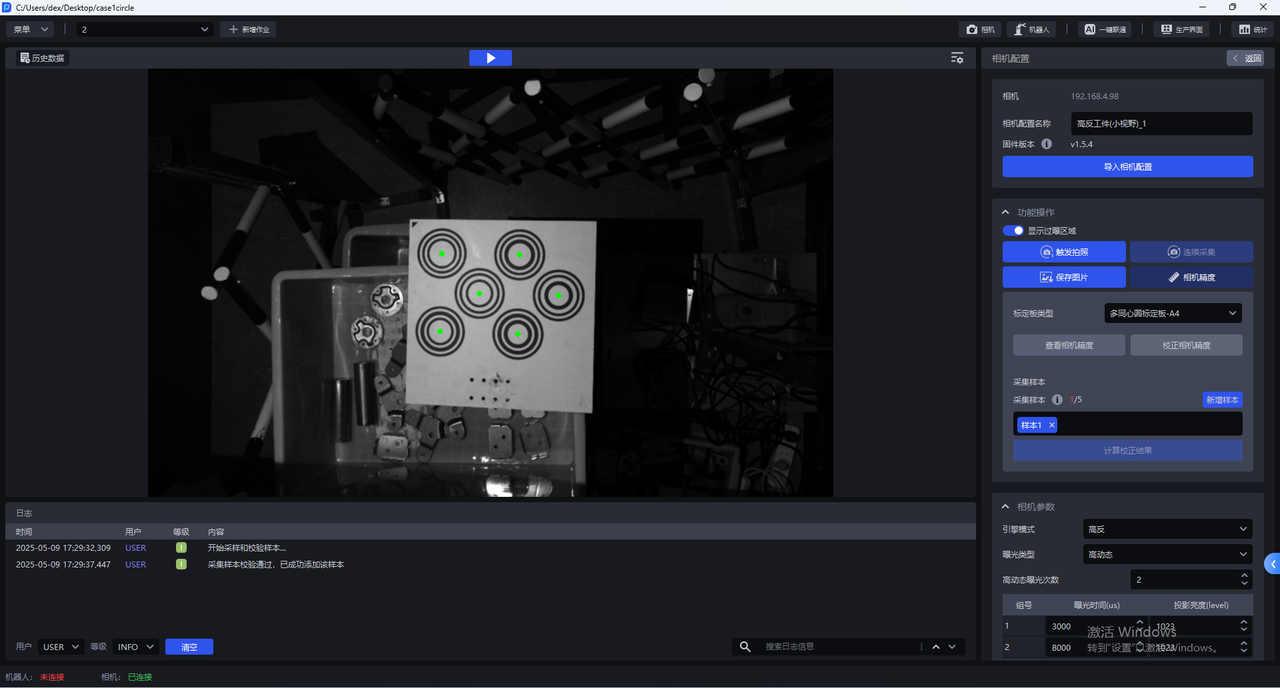
Click Sample x to view the collected samples. The centers of all concentric circles on the Calibration Board of samples that pass the verification turn green.
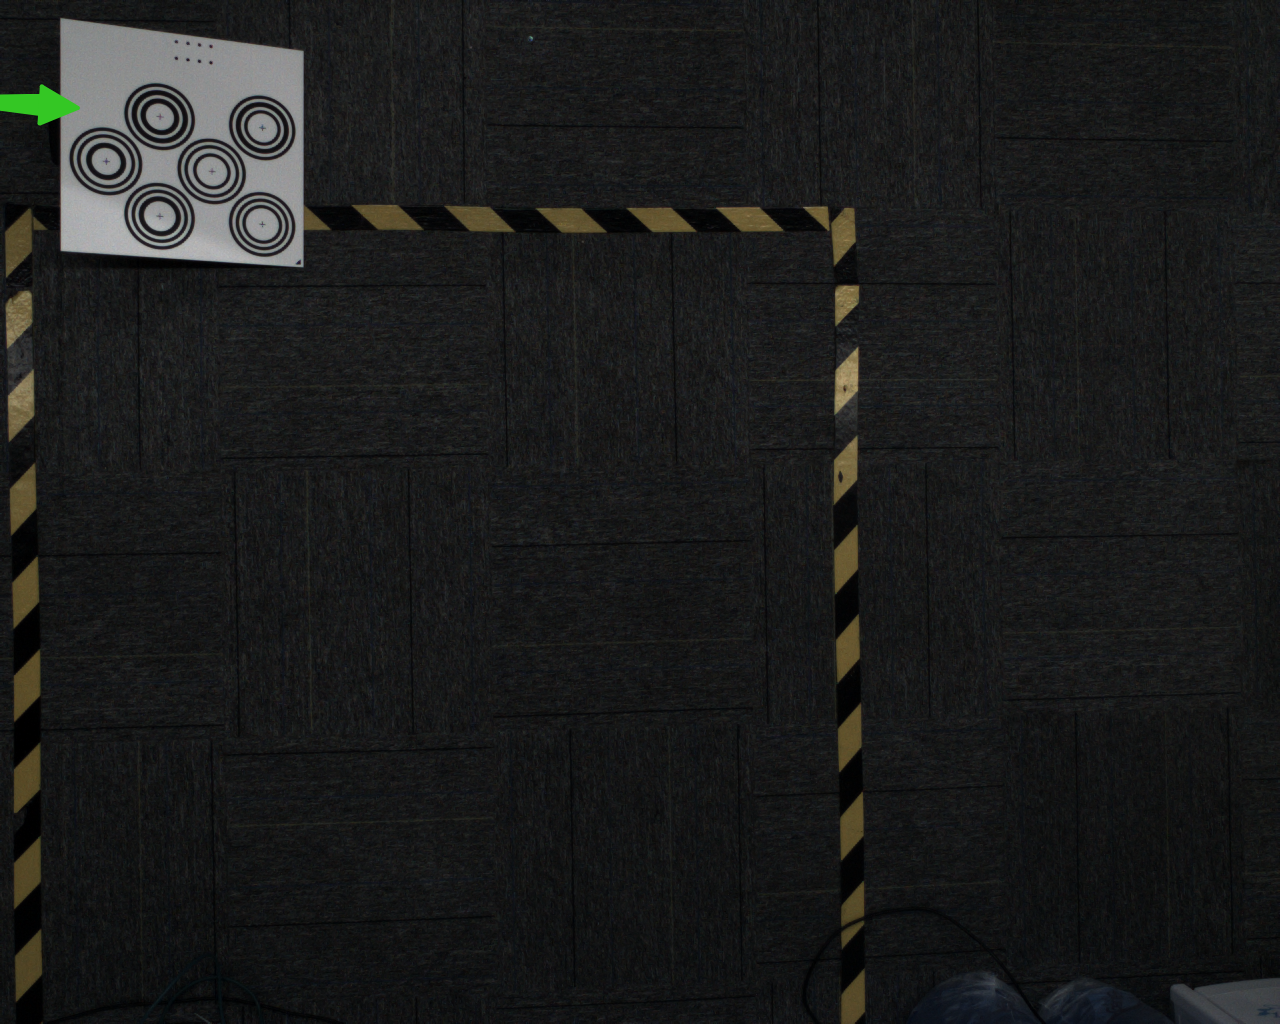
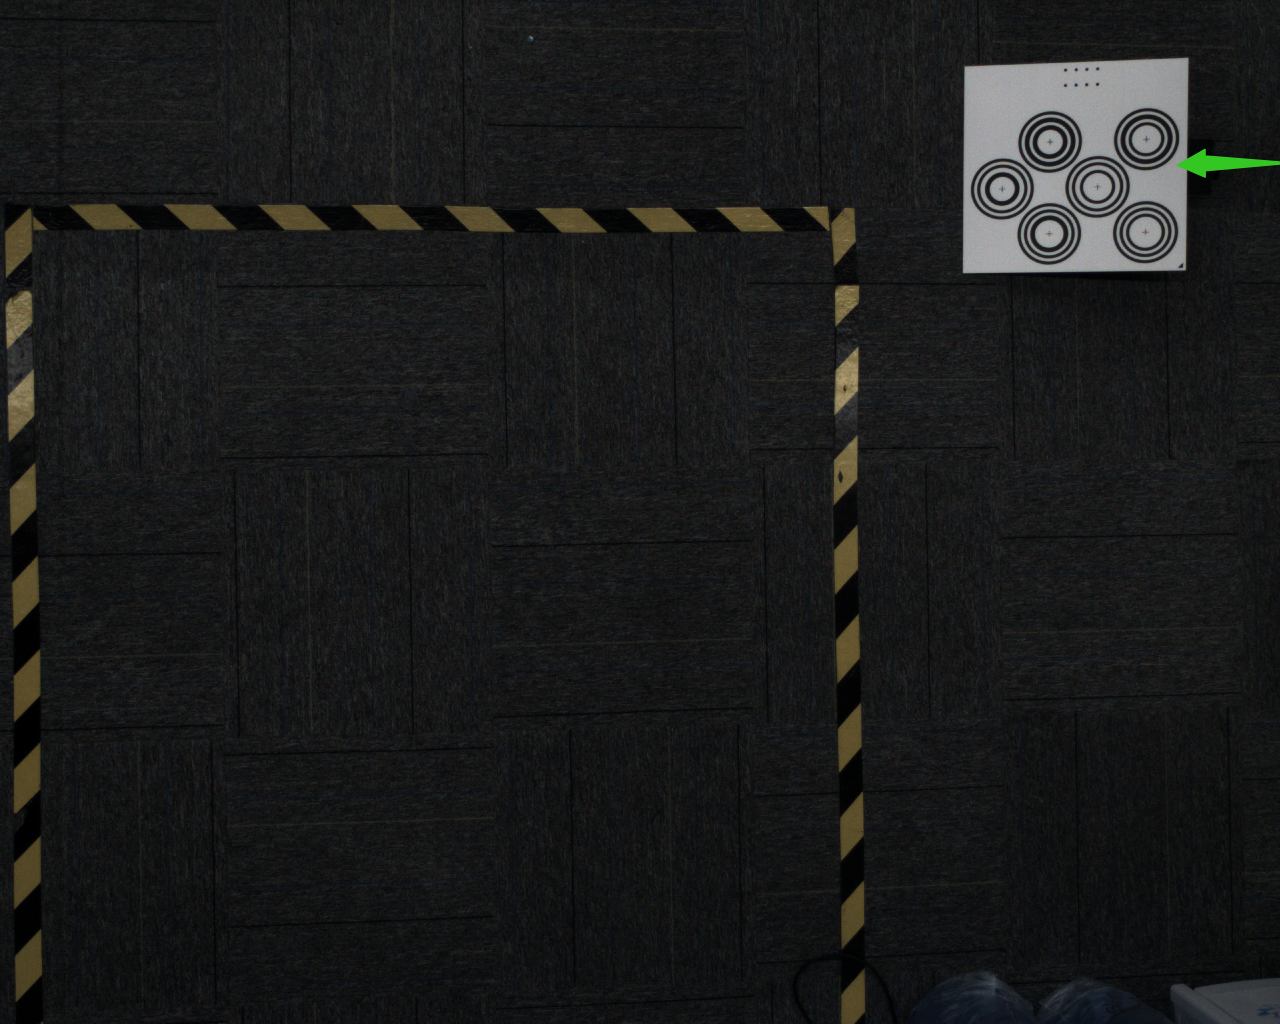
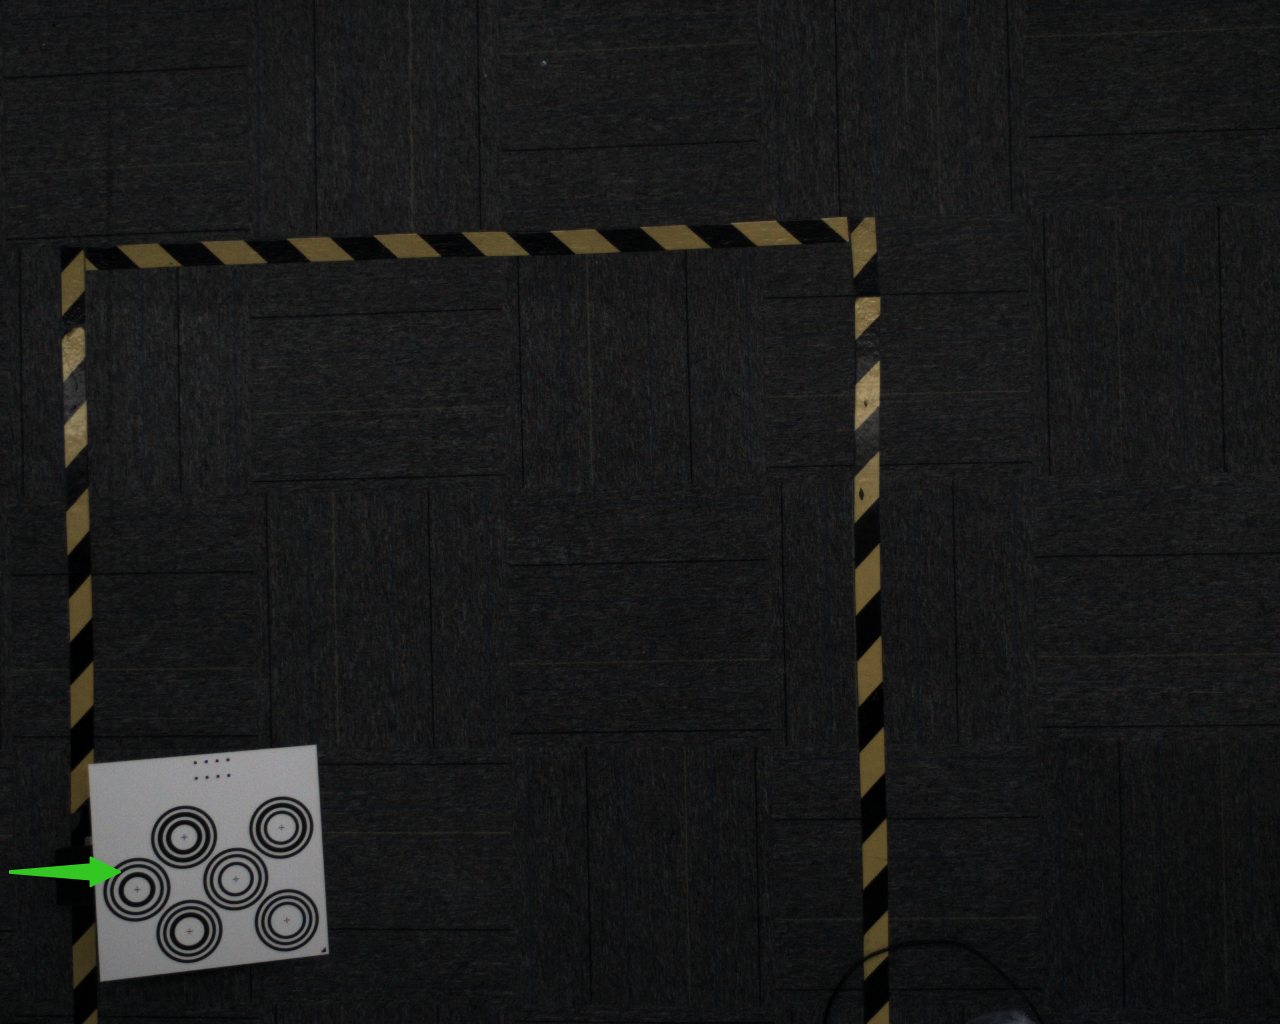
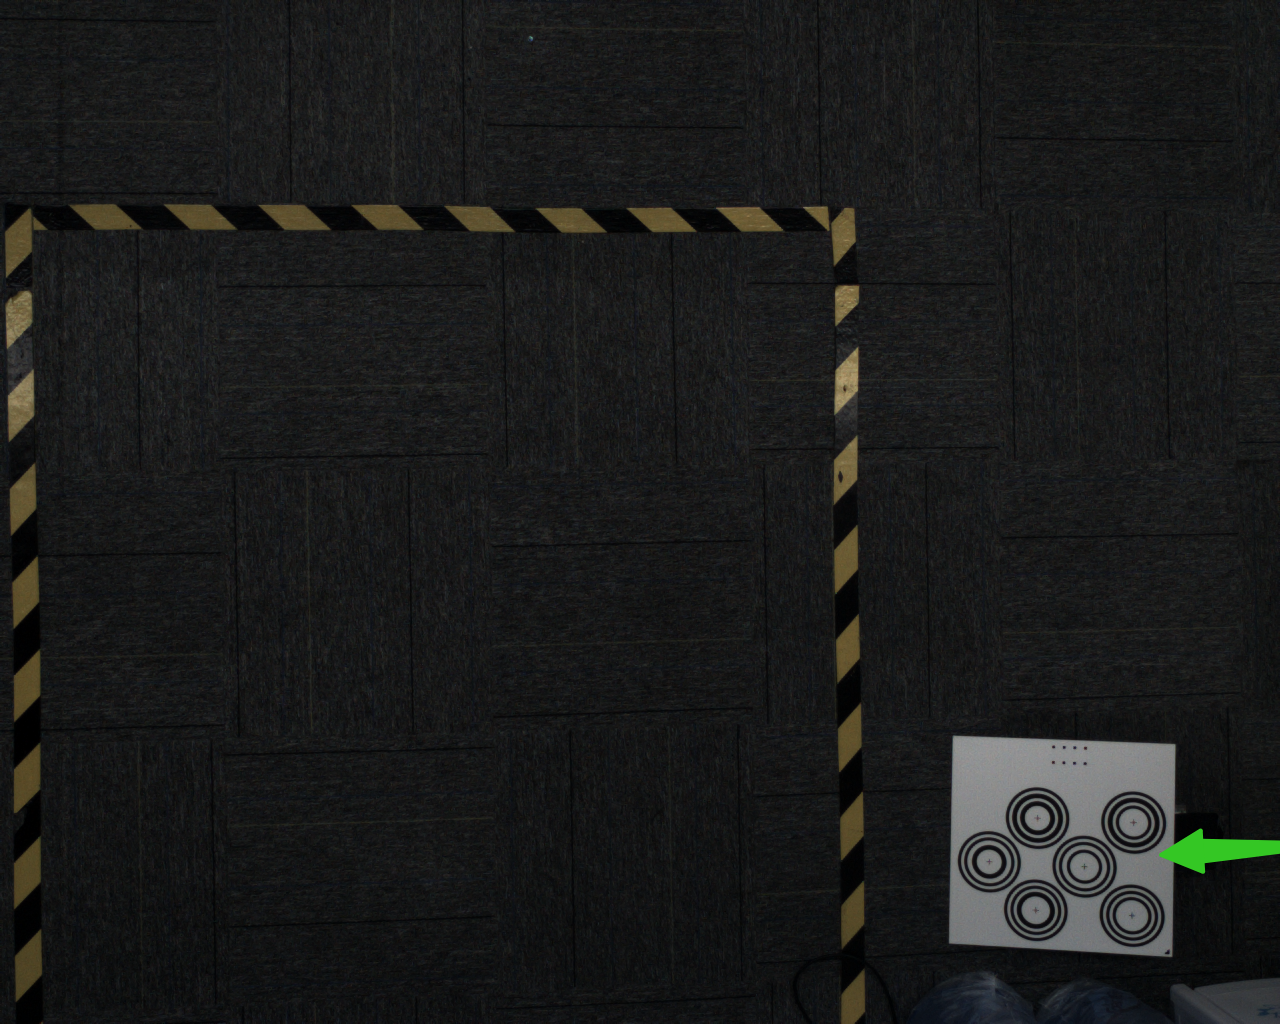
- Move the Calibration Board to the 4 corners within the camera's field of view to
Add Sample, and raise the Calibration Board at each corner. The Calibration Board is placed at an angle of 15-30°, and the tilt angle cannot be too large or too small.
- After adding 5 samples, click
Calculate Correction Results
- After the correction is completed, a prompt box will pop up "Camera accuracy correction is completed. The correction accuracy is x and the error is normal. Do you want to overwrite the current CameraParameter configuration?"
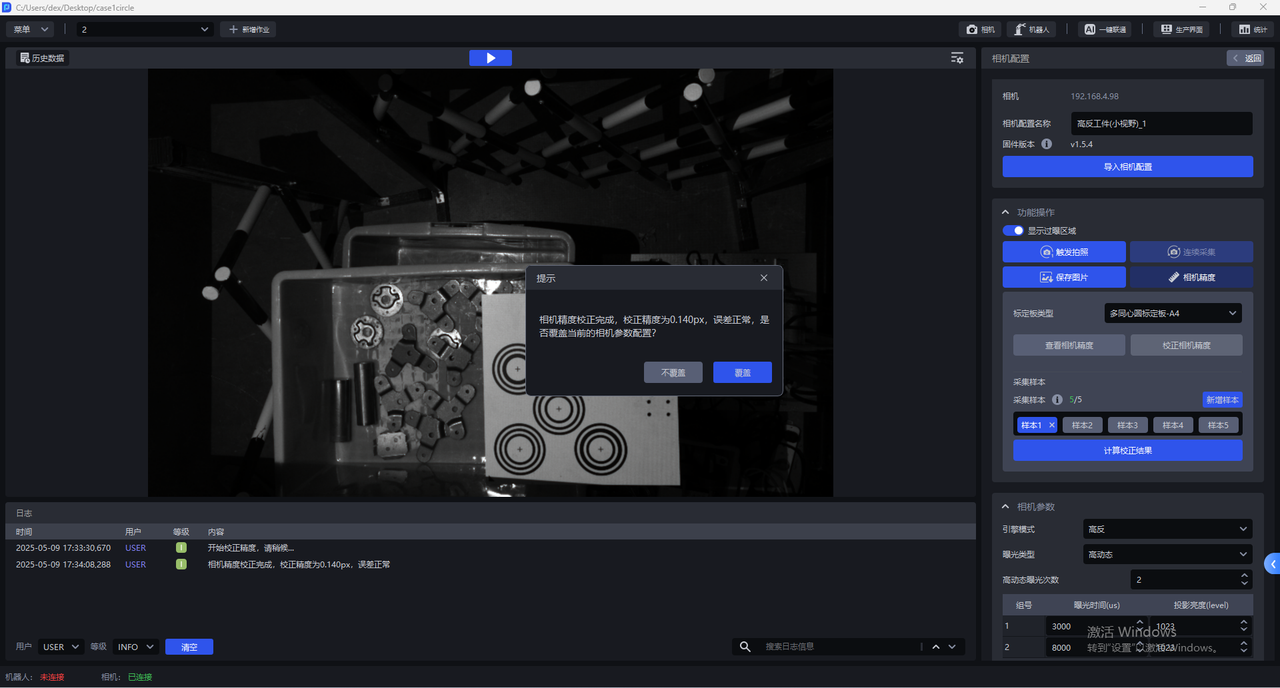
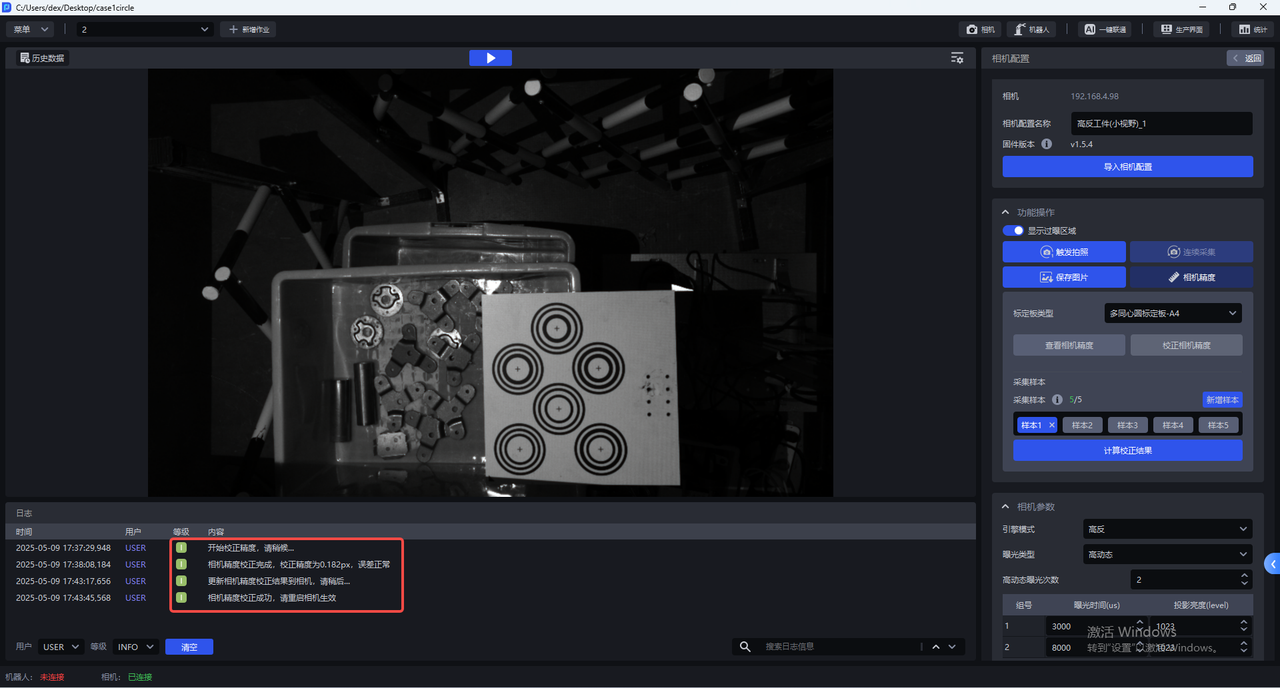
If you choose to overwrite the current CameraParameter configuration, the Camera accuracy correction results will be updated to the Camera. You need to restart the Camera to take effect
2. Adjust Camera imaging quality
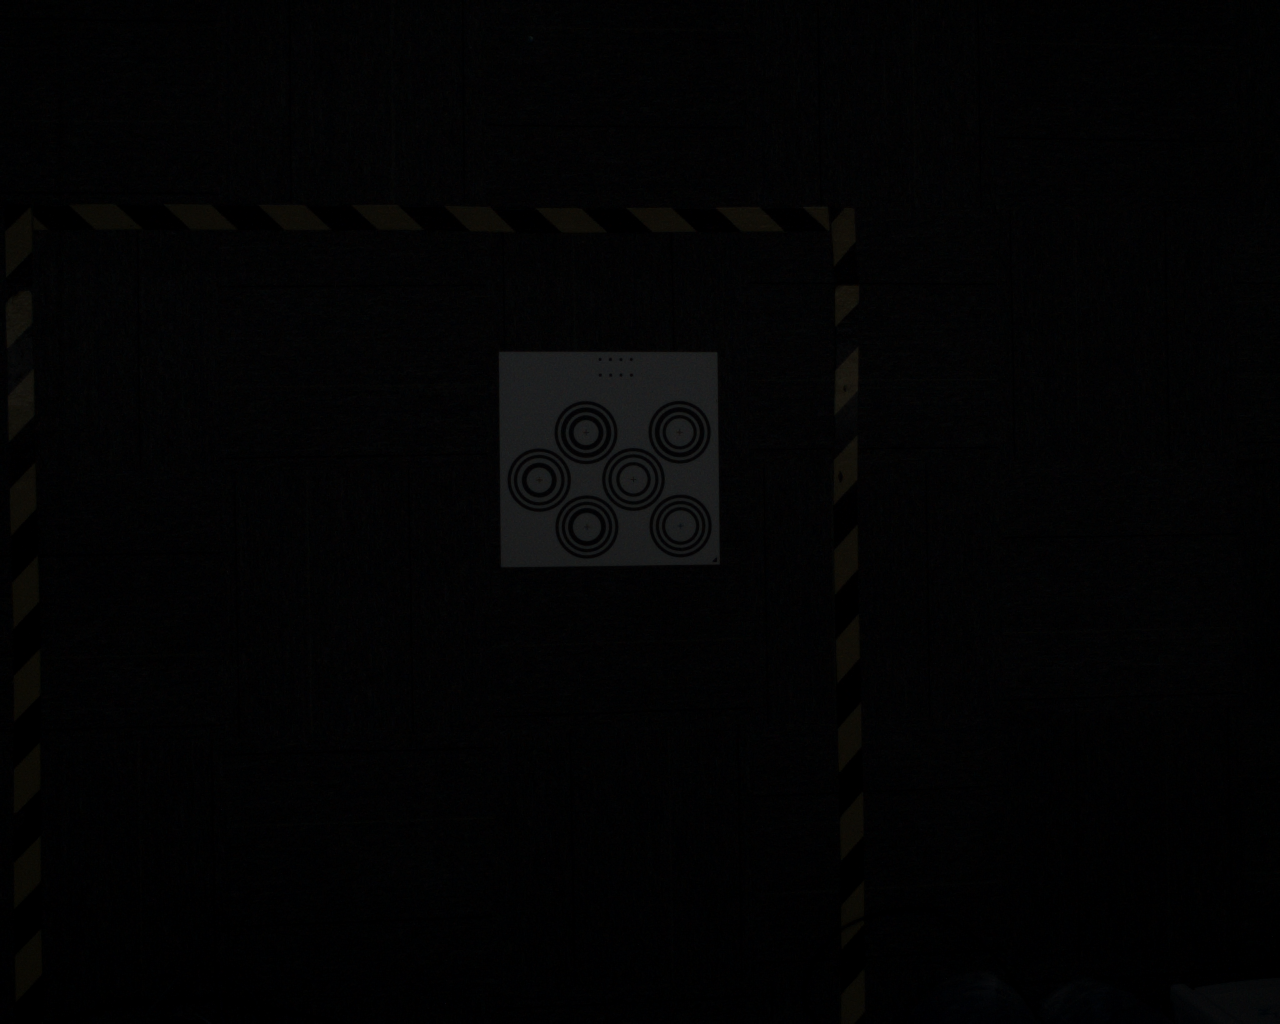
In the Camera Configuration interface, for Xema, Finch, and Sparrow series cameras, refer to [Camera Connection and Parameter Adjustment Guide] (../常用操作/相机连接与调参指南.md) to adjust CameraParameter. For Kingfisher series cameras, refer to [KINGFISHER Series Camera User Manual] (KINGFISHER系列相机使用手册.md) to adjust CameraParameter until the Calibration Board exposure is normal, reducing the number of noise points and improving imaging quality.
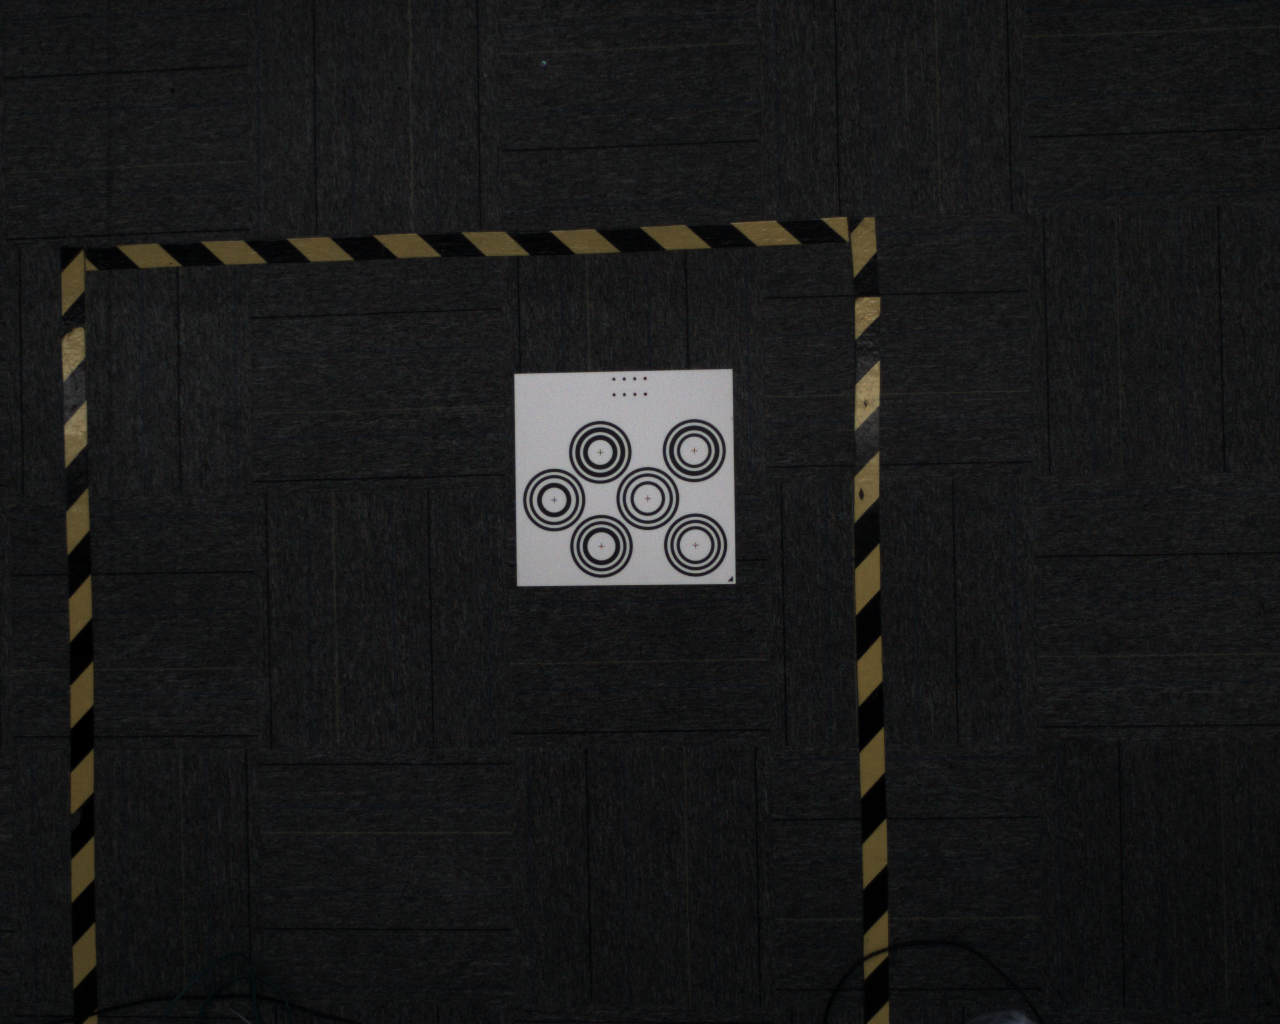
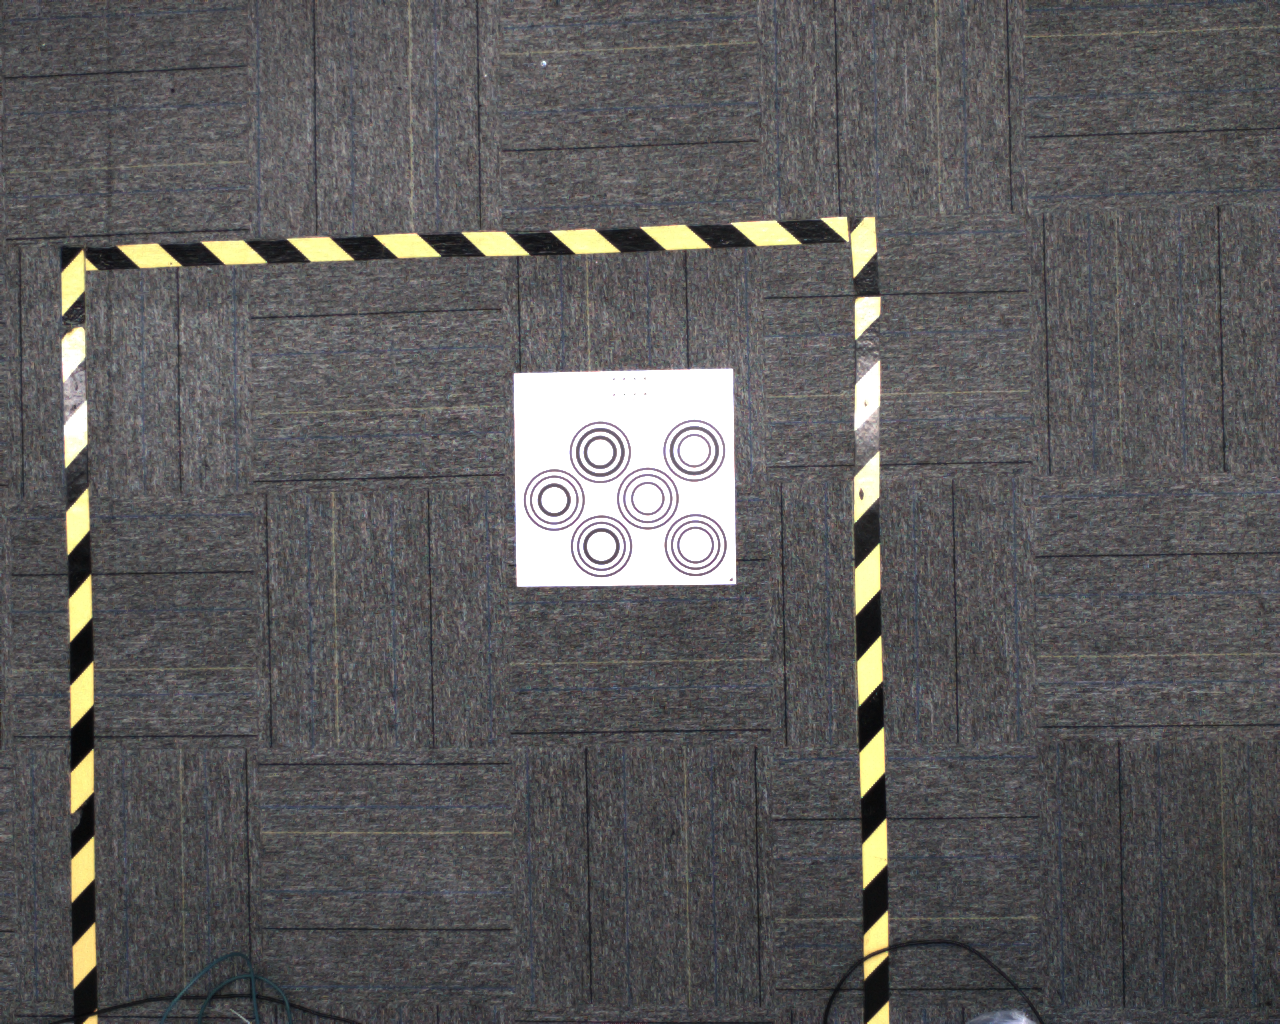
3. Robot accuracy verification
Before calibration, it is necessary to confirm whether the Robot accuracy meets the project requirements. If not, the Robot accuracy needs to be verified before calibration;
If the Camera accuracy meets the requirements and the imaging quality meets the requirements, but the calibration result error is still large, Robot accuracy verification is required.
Robot accuracy verification of 3.1 Eye to hand
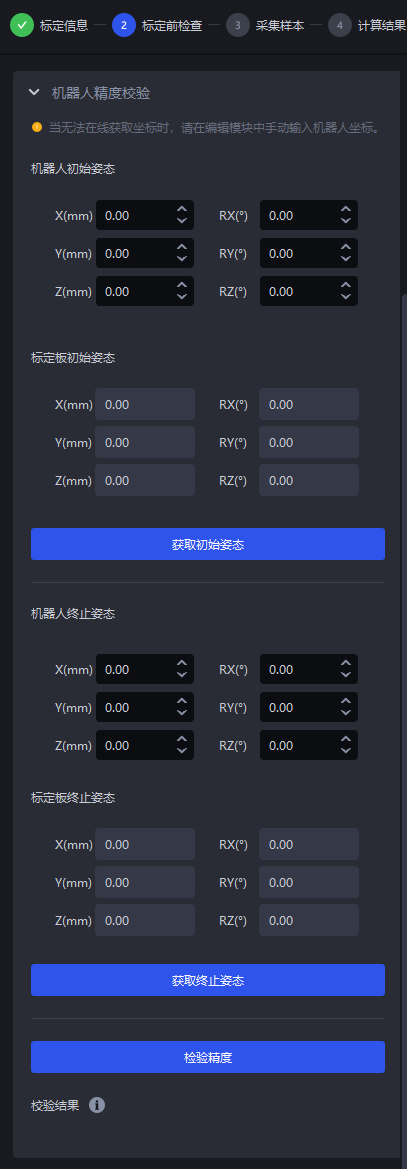
For the calibration of Eye to hand, verifying Robot accuracy is in the Pre-calibration check stage, turn on Robot accuracy verification
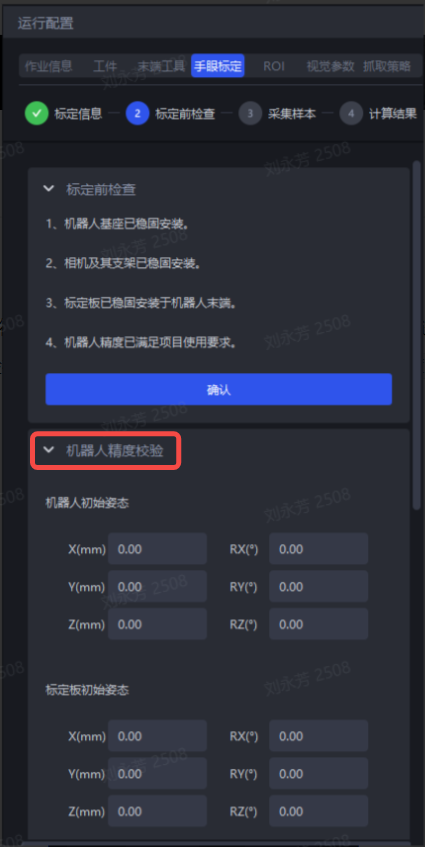
- Step 1: Click
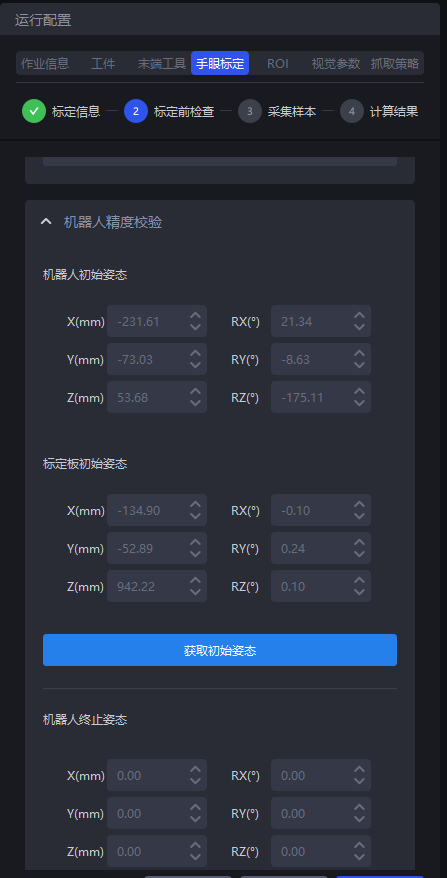
Get Initial Posture, the Camera will take a picture to identify the Calibration Board, and theCalibration Board Initial Posturewill update the corresponding Calibration Board pose. If the Camera cannot recognize the Calibration Board when taking pictures, you should control the robotic arm to move the Calibration Board and re-identify the Calibration Board.
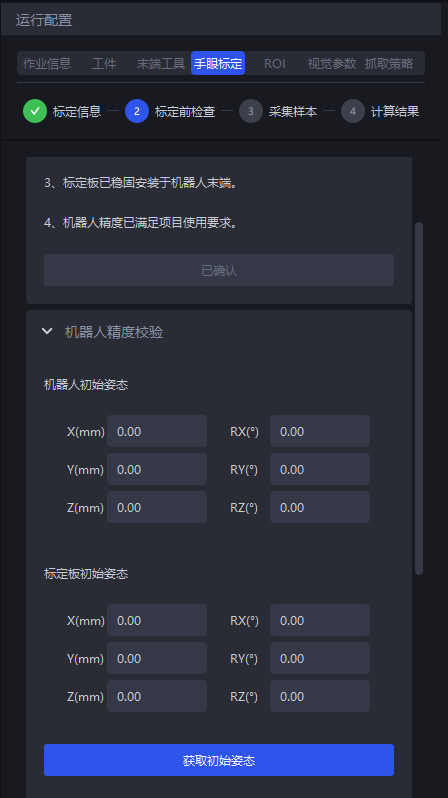
If Get coordinates online is Yes, PickWiz will send a request pose command to Robot, Robot will send the current robot arm end pose to PickWiz, and Robot initial pose will update the current robot arm end pose, as shown in the figure below.

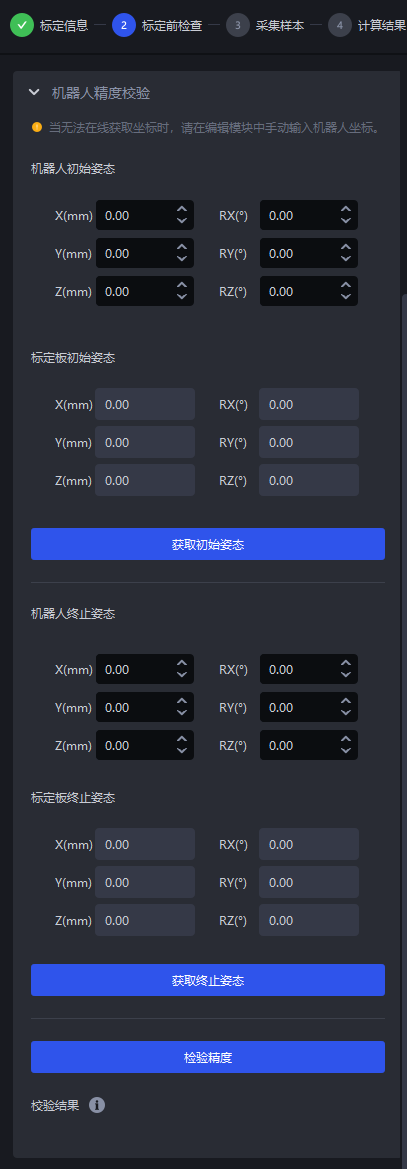
If Get coordinates online is No, you need to manually enter the current robot arm end pose, as shown in the figure below.
- Step 2: Control the robotic arm to carry the Calibration Board to translation for a longer distance, click
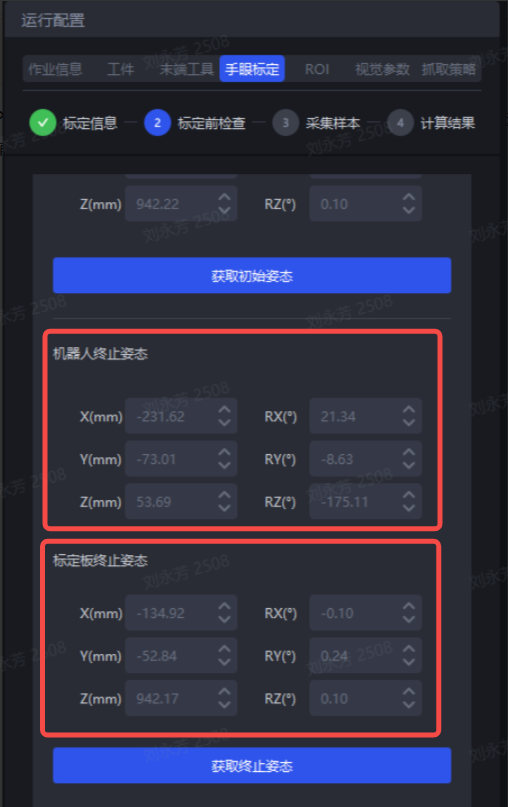
Get termination pose, the Camera will take a photo to identify the Calibration Board, and theCalibration Board initial posewill update the corresponding Calibration Board pose. If the Camera cannot recognize the Calibration Board when taking pictures, the robot arm should be controlled to carry the Calibration Board to move pan and re-identify the Calibration Board.
When verifying the accuracy of the Robot, control the robot arm to carry the Calibration Board for translation in the X or Y direction, and no rotation in any direction.
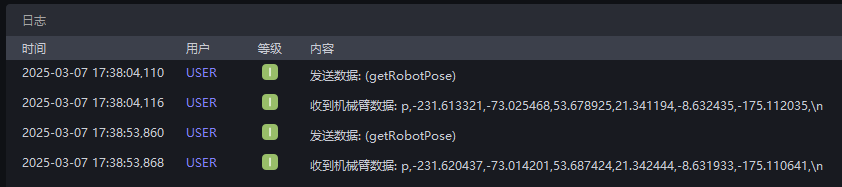
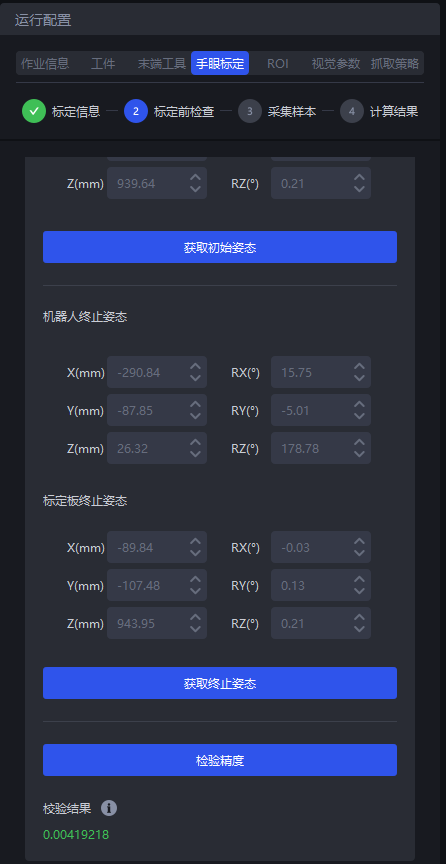
If Get coordinates online is Yes, PickWiz will send a request pose command to Robot, Robot will send the current robot arm end pose to PickWiz, and Robot termination pose will update the current robot arm end pose, as shown in the figure below.
If Get coordinates online is No, you need to manually enter the current robot arm end pose, as shown in the figure below.
- Step 3: Click the
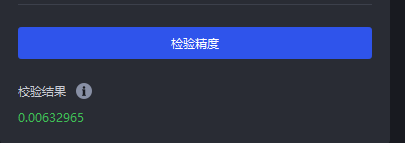
Calibration Accuracybutton to view the Robot calibration accuracy (absolute accuracy ratio). This value cannot be greater than 0.005, otherwise it can be considered that there is a problem with the absolute accuracy of the robot arm, as shown in the figure below. (The ratio is calculated as(1 - the distance the Calibration Board has translated / the distance the robot arm has translated)).
Robot accuracy verification of 3.2 Eye in hand
For the calibration of Eye in hand, verifying Robot accuracy is completed before calibration.
Step 1: Place the Calibration Board flat on a horizontal work platform, move the end of the robot arm to vertically align it with the center of one of the concentric circles on the Calibration Board, record the position of the Calibration Board at this time as the initial position of the Calibration Board, and record the pose on the Robot teach pendant as the Robot's Initial Pose.
Step 2: The Calibration Board translates a long distance in the X direction or the Y direction. Control the robot arm and the Calibration Board to translate in the same direction** so that the end of the robot arm is vertically aligned with the same center of the Calibration Board. Record the position of the same center of the circle on the Calibration Board after translation as the end position of the Calibration Board. Record the pose on the Robot teach pendant as the end pose.
The end of the mechanical arm after translation should be vertically aligned with the same center of the Calibration Board.
The end of the robot arm translates in the X or Y direction and cannot rotate in any direction.
Step 3: Calculate the translation distance of the end of the robot arm from the Initial Pose to the end pose, and use the distance measurement tool with a scale to manually measure the translation distance of the Calibration Board from the initial position to the end position.
Step 4: Robot accuracy = (the translation distance of the end of the robot arm from the Initial Pose to the end pose) / the manually measured translation distance of the Calibration Board. If the calculated Robot accuracy is ≤