How to use KINGFISHER shadow mode
1. Function introduction
In deep learning models, shadow mode is a data enhancement method that reuses the real data accumulated by the model running in the actual scene to train the model, increasing the diversity of data and improving the generalization ability of the model.
2. Applicable Scene
The Imaging Model currently used by Camera can image 70%~90% of the area well (but there is partial collapse of the Target/material frame Point Cloud). When it is necessary to continuously improve the Point Cloud imaging effect, it can be trained with the shadow data of the real scene to obtain a fine-tuned model with better effects (95%+ area imaging is good).
3. Usage steps
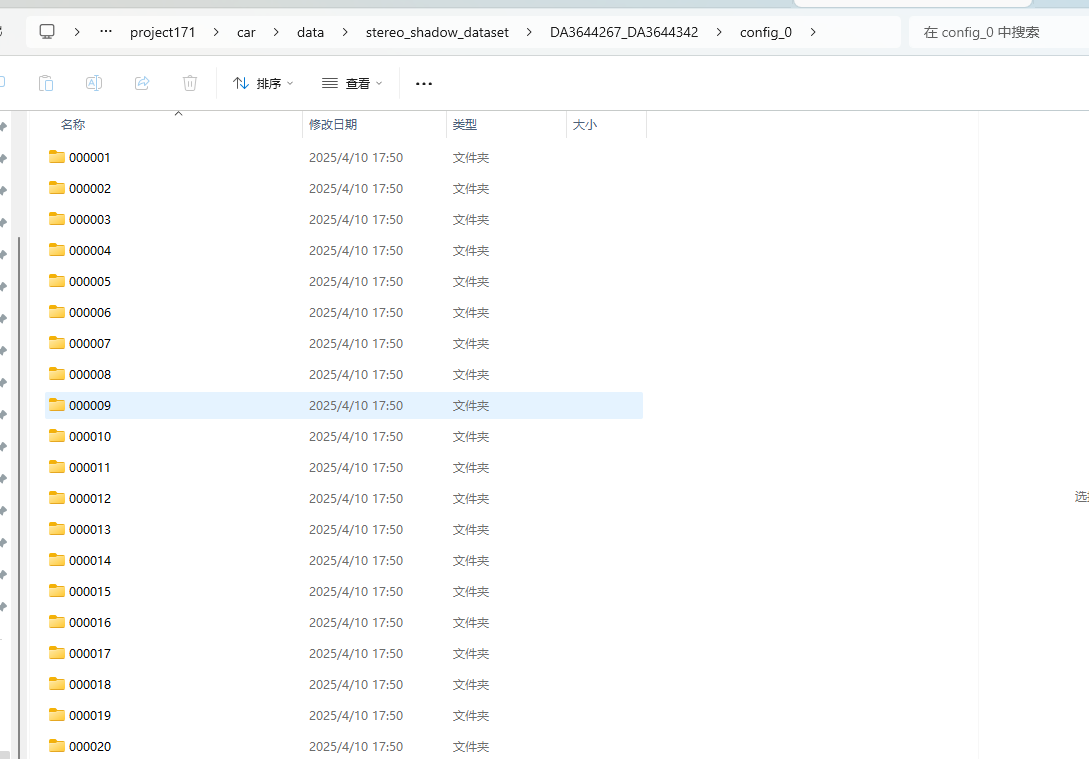
Make sure that the total amount of data in shadow mode meets the requirements, at least 20 copies of shadow data [only the data saved when triggered by the robot arm]
Click Camera on the main interface, enter the Camera configuration interface to connect to the binocular camera, slide down the scroll bar to Imaging Model Shadow Mode, and check to enable Imaging Model Shadow Mode.
Save strategy:
Set the storage strategy of shadow mode training data and the maximum amount of data saved/number of data copies according to the actual situation. When the set maximum value is exceeded, the data with the earliest writing time will be automatically deleted.
- Choose to save in a fixed size: the unit is GB, [0.01,5], the default value is 1GB, when the maximum value is exceeded, the data with the earliest writing time will be automatically deleted.
- Choose to save by a fixed number: the unit is copies, [100,1000], the default value is 150 copies, when the set maximum number of copies is exceeded, the data with the earliest writing time will be automatically deleted.
Keep the number of iterations at the default value
Set model name
Set notes (optional)
Click
Start Trainingand wait for the model training to be completed.After completing the training, you can select the corresponding new model in the model configuration and click "Trigger photo" to view the effect.