
Common Questions and FAQ
This page summarizes common questions before and after eye-hand calibration. Calibration error is usually affected by camera intrinsic parameters, point cloud image quality, robot accuracy, sample distribution, and coordinate input.
1. What should be checked before calibration?
First, rule out these three basic issues:
- Camera intrinsic parameter errors: inaccurate focal length, principal point, or distortion parameters
- Point cloud quality issues: overexposure, underexposure, noise, missing data, or distortion
- Robot accuracy issues: end-effector positioning errors caused by mechanical structure or transmission accuracy
For complete hardware and configuration checks, see Pre-calibration Checks.
2. How do I correct camera accuracy?
Before correction, enable “Show Overexposed Areas” and adjust the single-exposure time until the calibration board is imaged properly.
- In Camera Configuration, click “Camera Accuracy”
- Select the calibration board type that matches the physical board
- Click “Correct Camera Accuracy”
- Place the calibration board horizontally in the center of the field of view and add 1 sample
- Move the calibration board to each of the four corners of the field of view, tilt the calibration board by 15°–30° at each position, and add 1 sample at each position
- After collecting a total of 5 valid samples, click “Calculate Correction Results”
- If you need to overwrite the camera parameters, confirm the change and restart the camera for the configuration to take effect
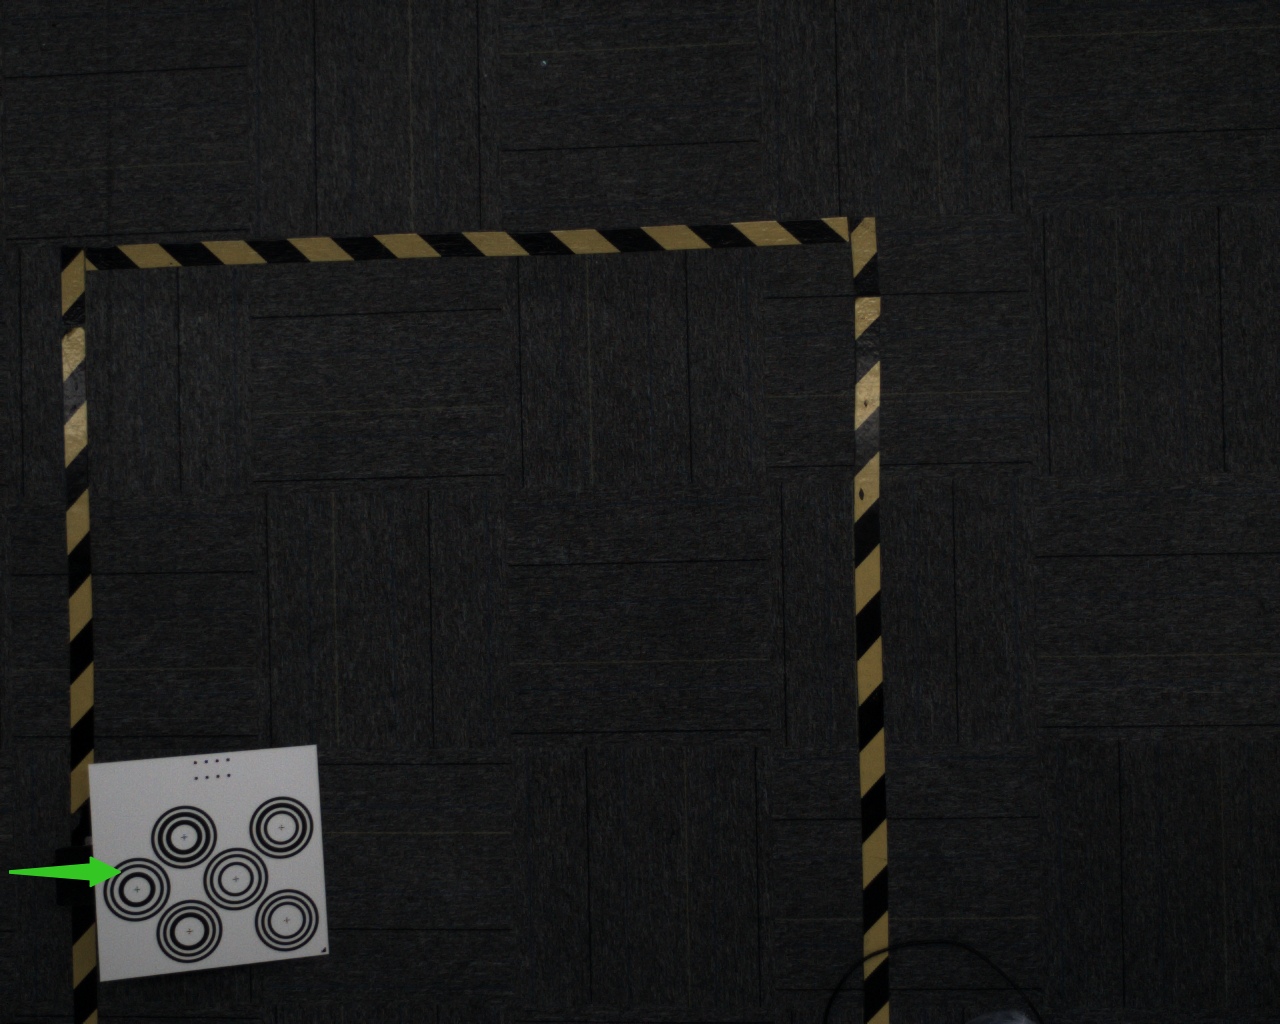
After correction, restore the camera’s original imaging parameters as required by the on-site configuration, and check the exposure and point cloud quality again.
3. How do I determine whether camera imaging is acceptable?
The calibration board should be fully visible, properly exposed, and have clear edges. Minimize noise, missing data, and distortion in the point cloud.
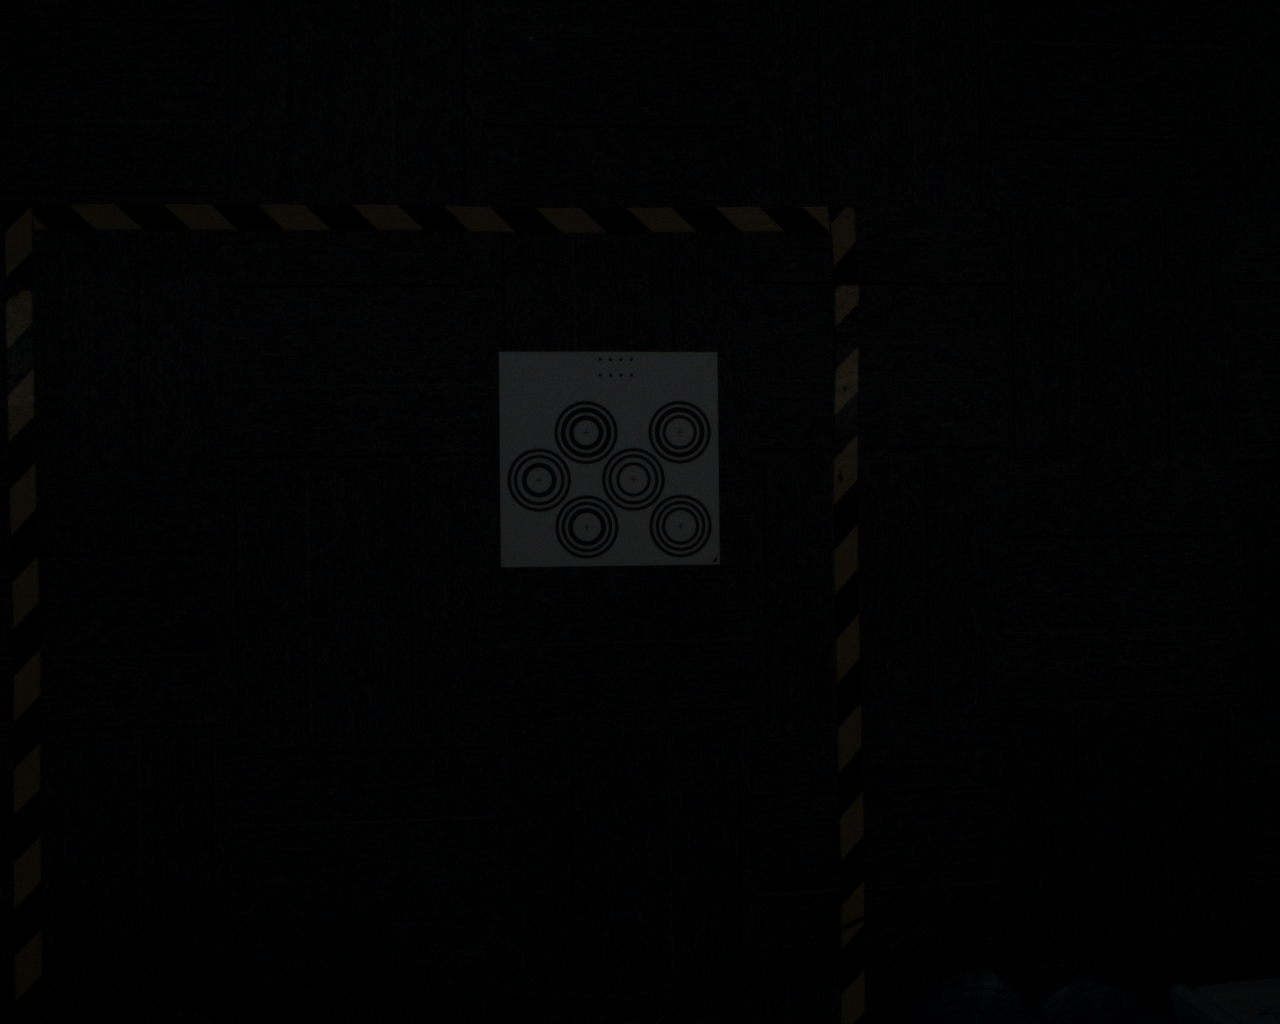
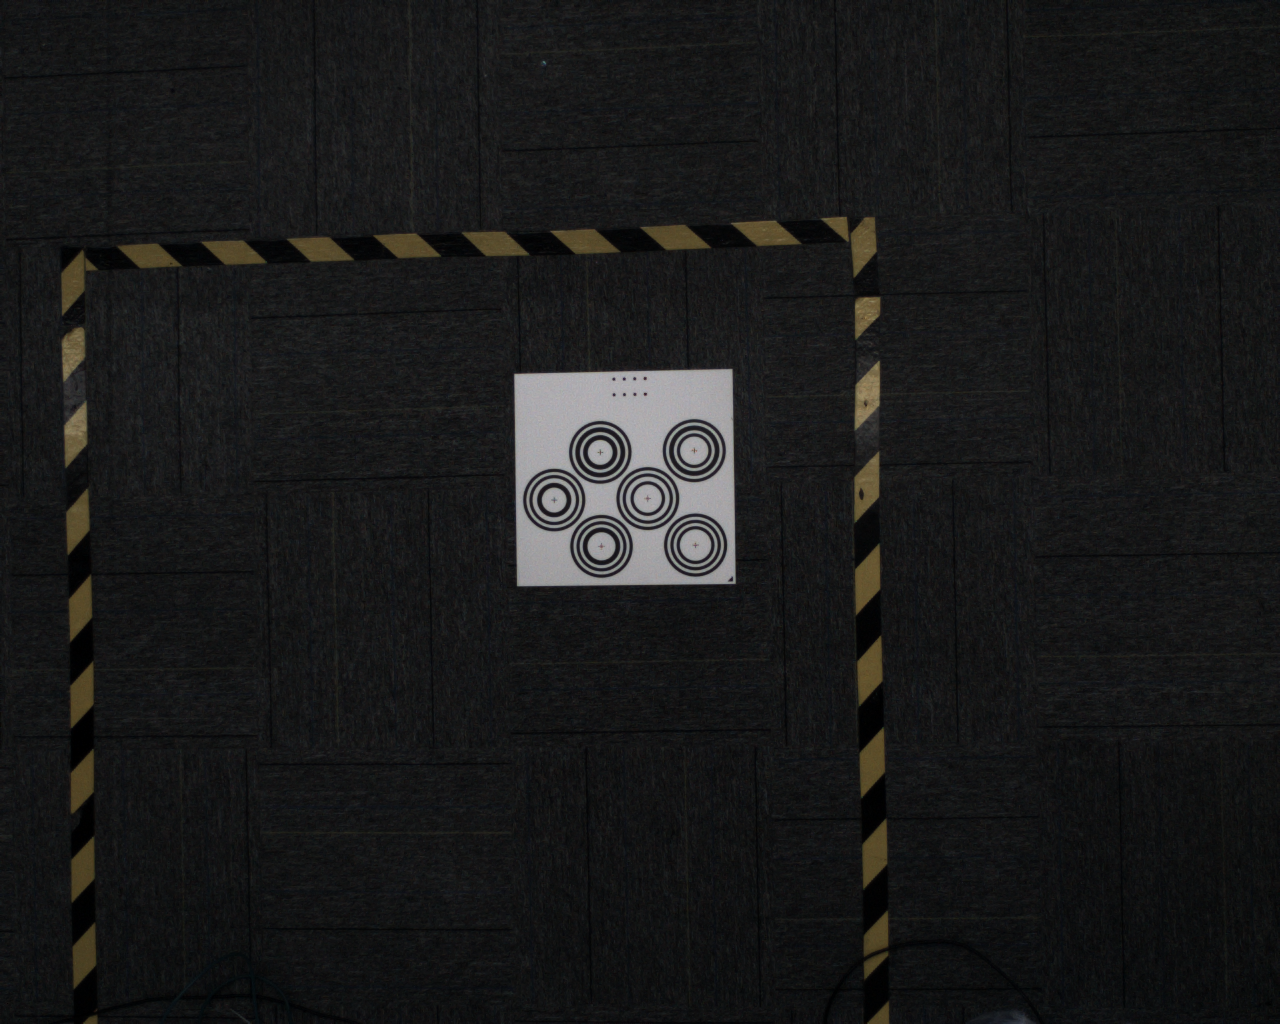
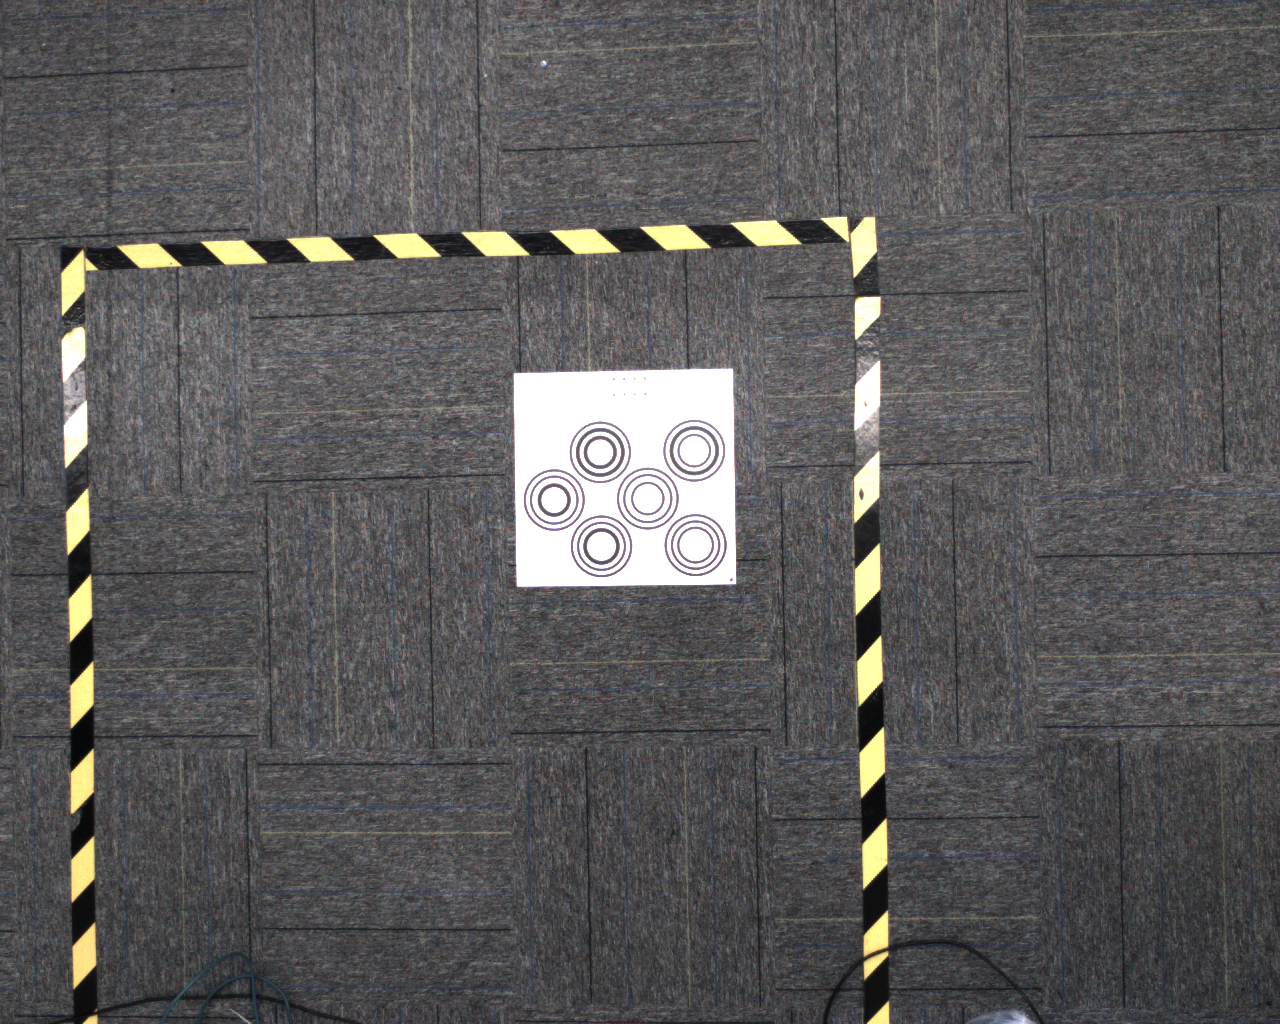
- Xema and Finch series: see the Camera Connection and Parameter Tuning Guide
- Kingfisher series: see the KINGFISHER Series Camera User Manual
4. How do I verify robot accuracy for an eye-to-hand setup?
Perform this verification under “Pre-calibration Checks → Robot Accuracy Verification”.
- Position the calibration board on the end-effector within the field of view, then click “Get Initial Pose”
- When “Obtain Coordinates Online” is set to “Yes”, the robot returns the end-effector pose; when set to “No”, enter it manually
- Move the robot carrying the calibration board a relatively long distance along the X or Y direction without rotating it
- Click “Get End Pose” to obtain or enter the robot pose again
- Click “Verify Accuracy” and check the absolute accuracy ratio
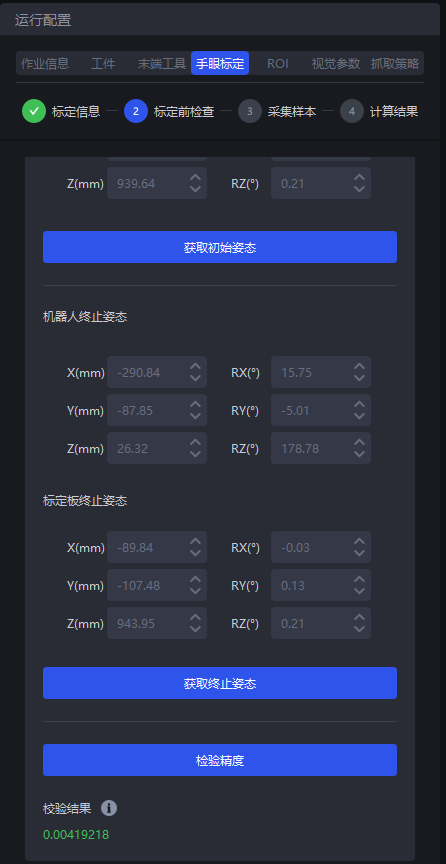
The absolute accuracy ratio is calculated as “1 − calibration board translation distance ÷ robot translation distance”. Its absolute value should not exceed 0.005. If it exceeds this threshold, address the robot’s absolute accuracy issue first.
5. How do I verify robot accuracy for an eye-in-hand setup?
- Lay the calibration board flat on a horizontal workbench
- Align the robot end-effector vertically with the center of a concentric circle, and record the robot’s initial pose and the calibration board’s position
- Move the calibration board a relatively long distance along the X or Y direction without rotating it
- Move the robot in the same direction, align it vertically with the center of the same circle again, and record the end pose
- Calculate the robot end-effector translation distance, and measure the calibration board translation distance with a graduated tool
- Compare the relative difference between the two distances and confirm that it meets the project’s accuracy requirements; if using the existing acceptance criterion, the difference metric should not exceed 0.005
6. Why does “Identical to the original sample” appear?
The new pose is too similar to an existing sample. First, adjust the robot position and rotation angle so that samples cover different areas and directions.
If the on-site movement range is limited, you can modify the configuration as described in Disable Calibration Sample Similarity Verification. After disabling it, you must verify accuracy across the entire workspace.
7. How do I troubleshoot a large calibration error?
Check the following in order:
- Whether the camera or robot base is loose
- Whether the calibration board type, robot type, and camera mounting method are correct
- Whether the image, point cloud, and calibration board detection are stable
- Whether the sample positions and poses are sufficiently spread out
- Whether the field order, units, and coordinate system of manually entered poses are correct
- Whether the robot’s absolute accuracy meets the requirements
Then open Calibration Result Check and Analysis and use the error plot, scene view, and point cloud view to identify abnormal samples.
8. What should I do if positioning errors remain after calibration?
- Confirm that the operating configuration has selected the new calibration
- Confirm that the current coordinate system on the robot teach pendant is the same as the one used during calibration
- Use a needle-tip tool to compare the vision coordinates with the robot coordinates
- Verify accuracy at the center and four corners of the field of view, as well as in the actual work area
- If the error varies by position, recheck camera accuracy, sample coverage, and the calibration results
- If the error is approximately constant, check the tool coordinates, workpiece coordinates, and coordinate transformations in the robot program