
Create a Project from the Case Library
Create a Project from the Case Library
The case library contains project solutions and basic configuration data provided by PickWiz for typical applications. Using a case reduces repeated configuration and helps you start project debugging sooner.
Open the Case Library
When you open PickWiz for the first time, the New Project page appears. Select “Create from Case Library” to open the case library.
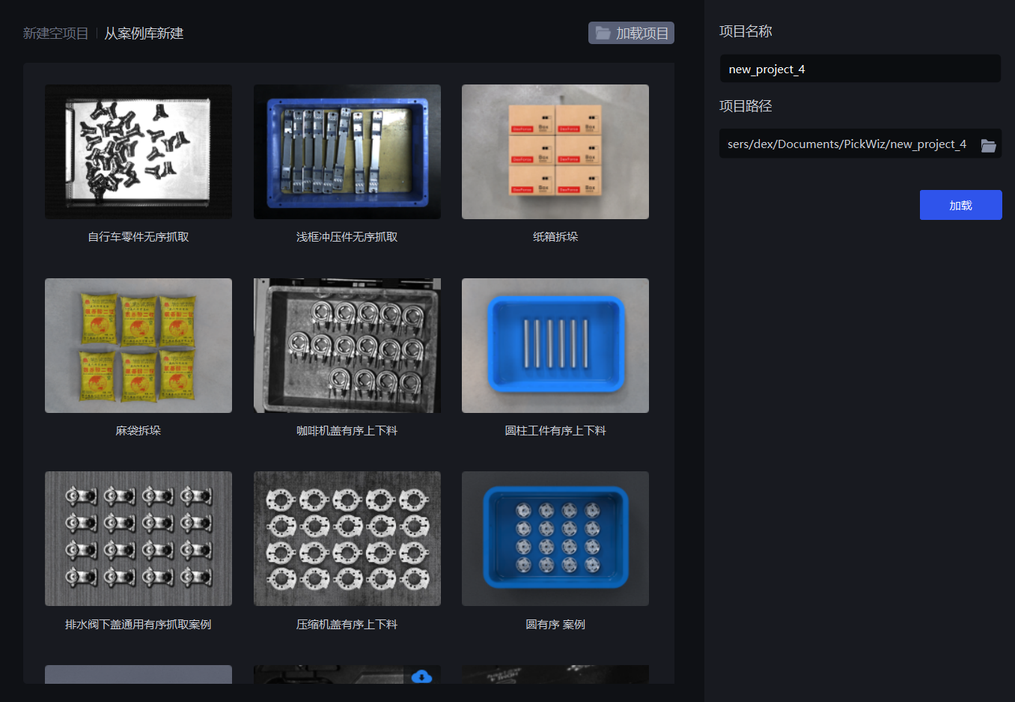
If you are already in the main project interface, click “Menu” in the upper-left corner, then select “New Project”.
On the New Project page, select “Create from Case Library”.
If the case library does not contain a case that meets your application needs, see Create a Blank Project to create a project.
Select and Download a Case
In the case library, select a case that meets your application needs.
The first time you use a case, connect to the internet and click the download icon in the case’s upper-right corner.
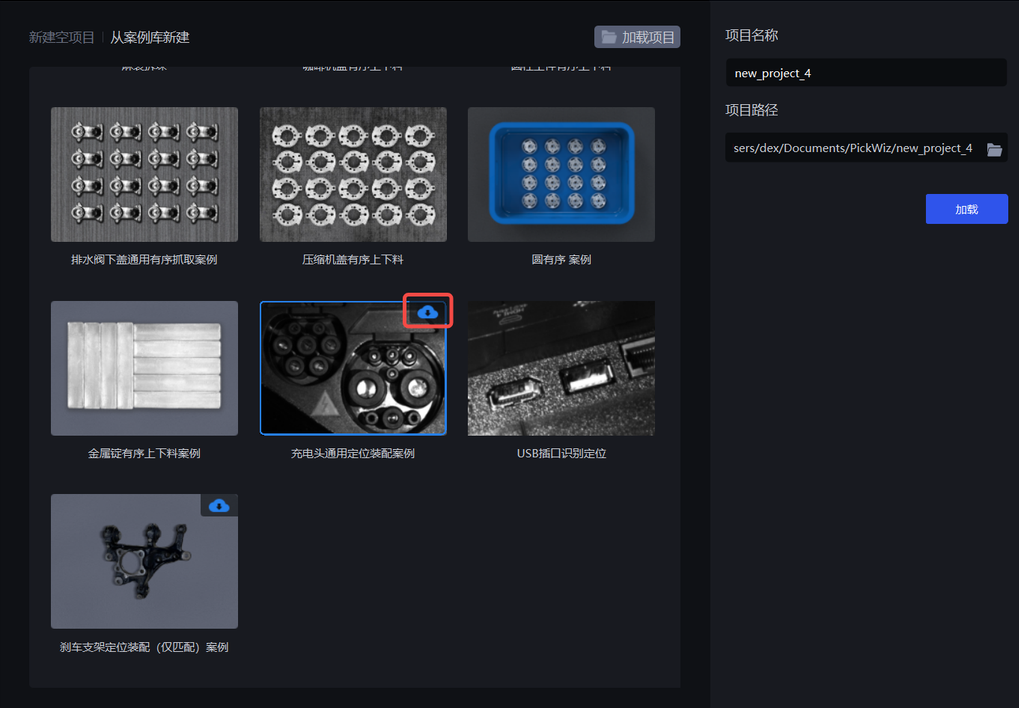
Wait for the download to finish. When the download completion message appears, click “OK”.
Note
The first time you use a selected case, you must connect to the internet and download it.
Set Project Information and Load the Case
Select a downloaded case, enter a project name, and choose a project storage path.
- The project name cannot contain Chinese characters or spaces.
- The default project path is
C:\Users\<Windows username>\Documents\PickWiz. You can change it as needed.
After confirming the project information, click “Load”.
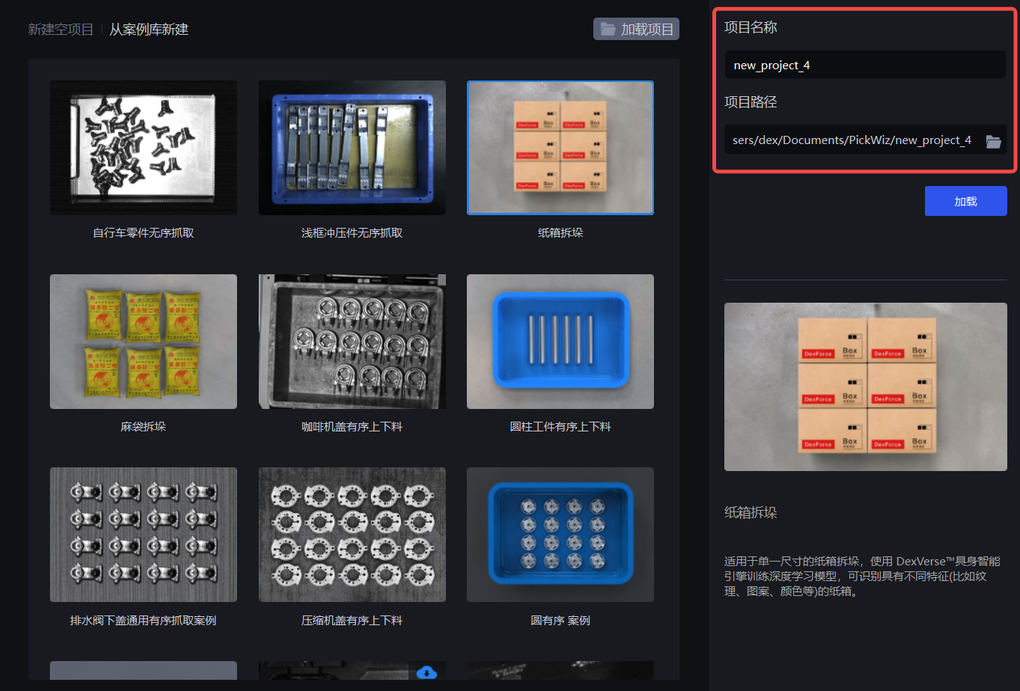
PickWiz creates the project at the selected path. The case project contains basic configuration data for tasks and task scenes. You can continue configuring and debugging the vision parameters from there.
Before running a picking task, you must also configure the camera, robot, eye-hand calibration, and other settings for the site environment. For the project directory structure and how it corresponds to task information, see Project Configuration.