Automatic Random Pose Sampling
Automatic random pose sampling uses a robot communication program to trigger detection, receive the next sampling pose, and repeat the sampling process, reducing manual robot teaching.
Automatic random pose sampling is currently not supported for three-axis or four-axis robots.
1. Preparation
- Complete the Checks Before Eye-hand Calibration
- Establish communication between the robot and PickWiz in the robot configuration
- Prepare a flat, clearly marked Calibration Board without damage or deformation
- Confirm that there is no collision risk within the six-axis robot’s range of motion
Automatic sampling requires the following communication fields:
| Communication direction | Field | Description |
|---|---|---|
| Robot sends a vision detection command | p | Robot’s current sampling pose |
| Robot sends a vision detection command | co | Image capture and calculation type; fixed at 3 for automatic calibration |
| PickWiz returns the automatic sampling result | sr | Calibration sampling result status code |
| PickWiz returns the automatic sampling result | cp | Robot Pose for the next sampling point |
Different robot brands use different standard communication programs. Before implementation, confirm that the program is available and verify the field order and units.
2. Configure Calibration Information
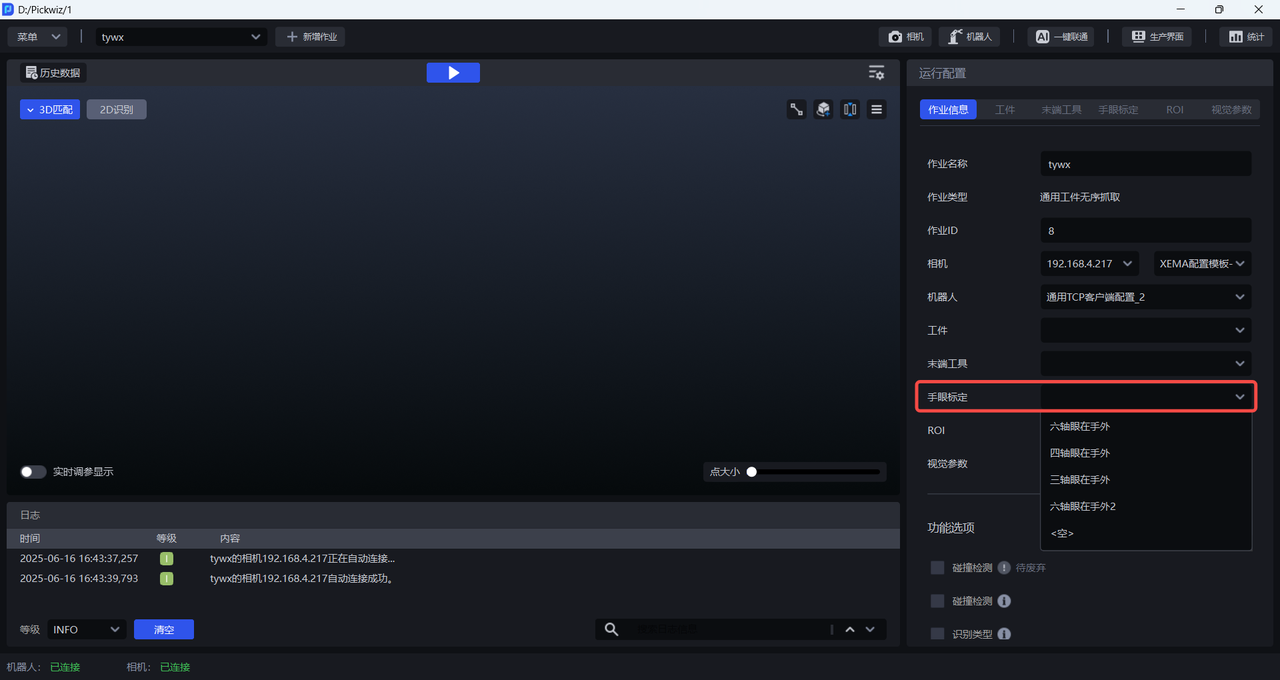
Open the Eye-hand Calibration page and click “Add Eye-hand Calibration.”
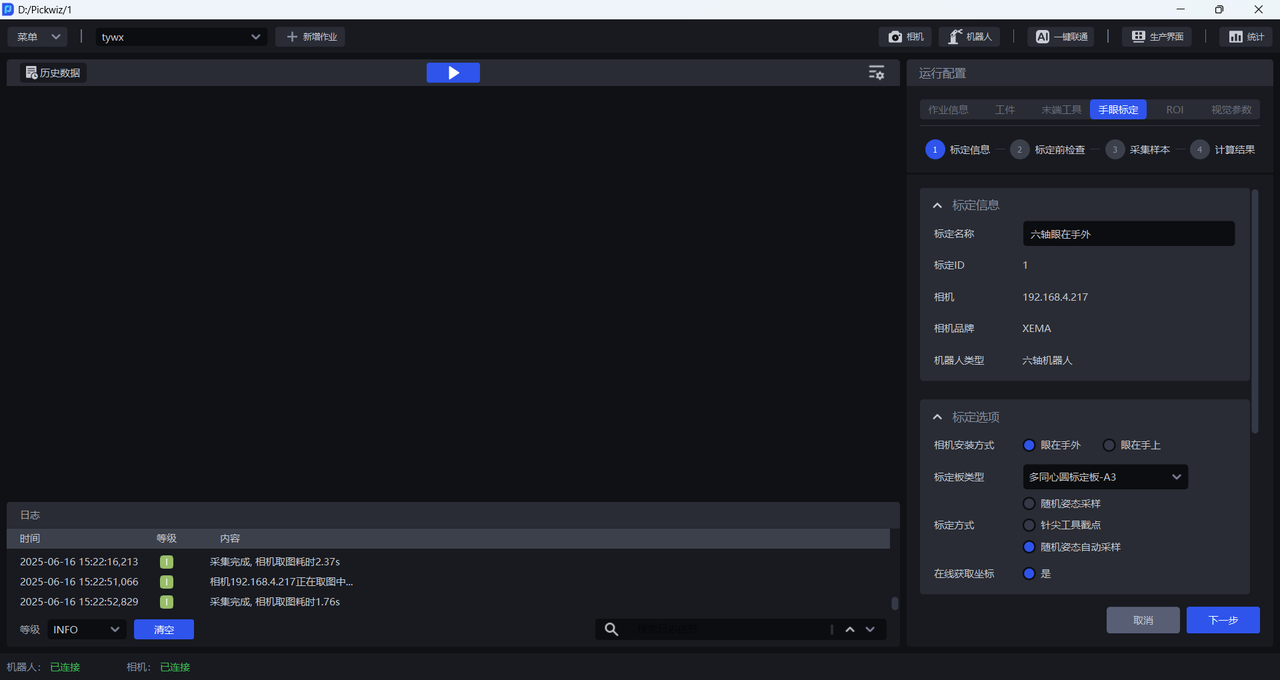
The settings common to both mounting methods are:
- Robot type: Keep it consistent with the robot configuration
- Calibration method: Select “Random Pose Sampling Calibration”
- Get coordinates online: Select “Yes”
- Calibration Board type: Select according to the mounting height and robot type
2.1 Eye to hand
Select “Eye to hand” as the camera mounting method. Mount the Calibration Board on the robot end-effector. The robot’s current position serves as the origin of the sampling distribution.
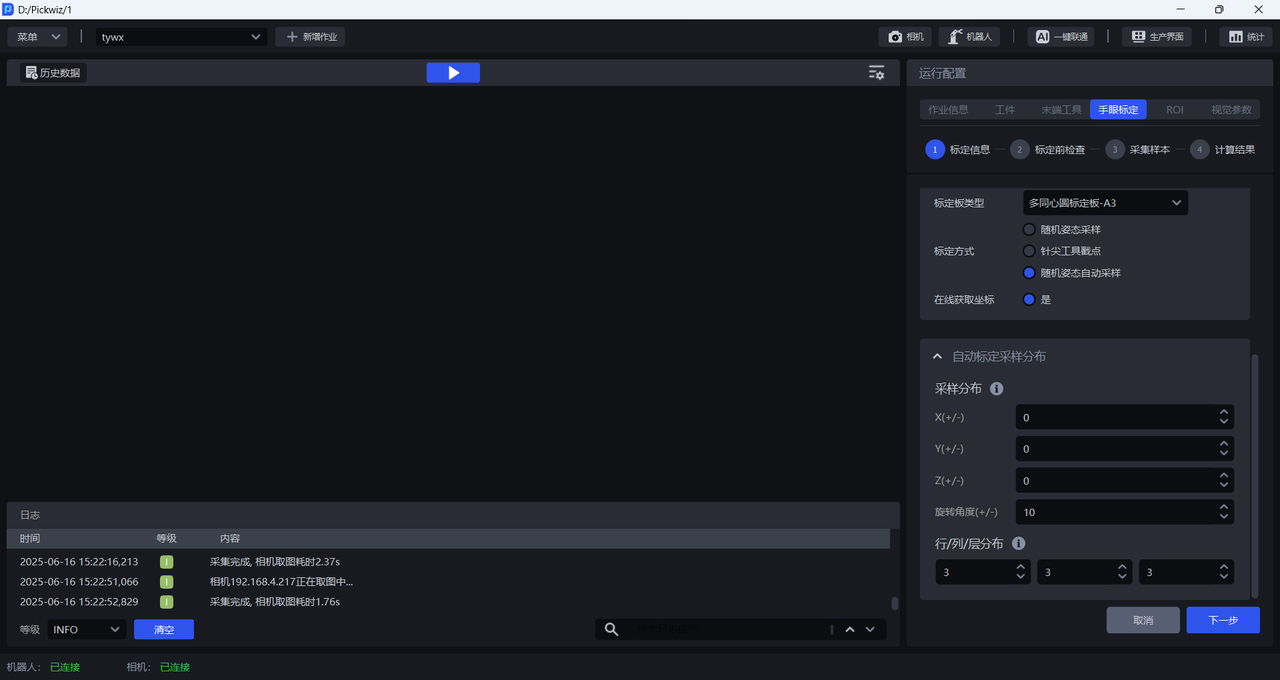
- Set the robot’s movement range in the positive and negative X, Y, and Z directions
- Set the rotational sampling angles around the robot’s Initial Pose
- Ensure that all sampling points are within the camera’s field of view and the robot’s safe operating range
- The default row, column, and layer distribution is 3 × 3 × 3; if accuracy requirements allow, it can be reduced to a smaller combination. Setting 2–3 points in each direction is recommended
2.2 Eye in hand
Select “Eye in hand” as the camera mounting method. Fix the Calibration Board on the work platform. The center of the sampling sphere is the point where the camera projects vertically onto the Calibration Board, and its radius is the vertical distance from the camera to the Calibration Board.
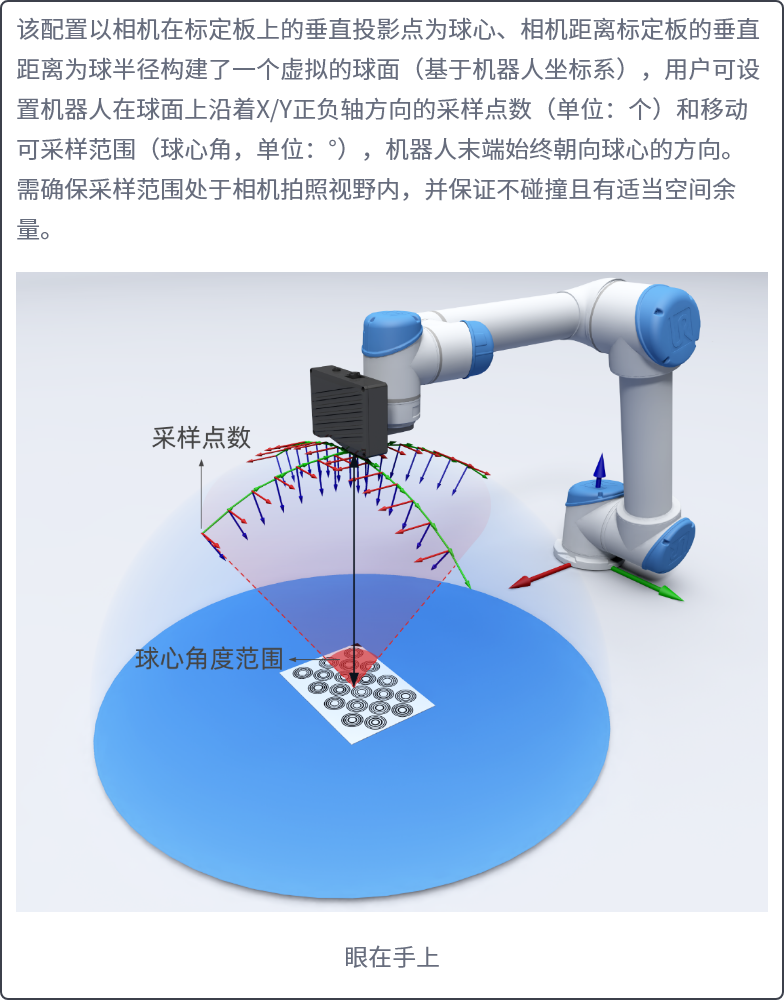
The default parameters are:
- Vertical distance from the camera to the Calibration Board: 1500 mm
- Number of sampling points on the sphere’s great circle: 5
- Sampling sphere central angle range: 20°
After setting these parameters, confirm that the robot end-effector always faces the center of the sphere, no trajectory causes a collision or exceeds a motion limit, and the entire Calibration Board remains visible.
3. Checks Before Starting
- The robot base, camera, and bracket are securely mounted
- Eye to hand: The Calibration Board is securely mounted on the end-effector
- Eye in hand: The Calibration Board is placed stably on the work platform
- At the Initial Pose, the Calibration Board is centered in the camera’s field of view
- The current robot configuration is enabled, and the automatic sampling communication fields are active
4. Automatic Sampling Procedure
- Select the calibration configuration and open the sampling page
- Move the robot to the Initial Pose
- The robot sends a vision detection command containing its current pose p and co=3
- PickWiz records the sample and returns the sr status code and the next sampling pose cp
- The robot moves to the next pose according to sr and cp, then sends another detection command
- Repeat until cp returns its default value (an empty value), which ends automatic sampling
4.1 Status Codes
| sr | Meaning | Recommended action |
|---|---|---|
| 0 | Automatic sampling completed successfully | Proceed to result calculation |
| 1 | New sample added successfully | Move to the next pose according to cp |
| 11 | Failed to add a new sample | Pause and check the items that failed in the detection result |
| 12 | Automatic sampling ended, but too few valid samples were collected | Check the Initial Pose, field of view, and sampling distribution, then retry |
| 13 | Failed to generate sampling poses | Check the robot configuration and sampling distribution |
| 14 | The automatic calibration sampling page is not open | Open the correct page and trigger sampling again |
| 15 | System error | Contact technical support |
5. Calculate and Apply the Result
- After automatic sampling ends, click “Calculate Results”
- Open Checking and Analyzing Calibration Results to check the error and sample distribution
- Once the result meets the project requirements, select this configuration under “Run Configuration → Task Information → Eye-hand Calibration”