Tool Usage Guide
Tool is a device installed at the end of the Robot arm and is used to complete picking tasks. It is a key component for the Robot to perform depalletizing, random picking, ordered loading and unloading, positioning and assembly, and other tasks.
1. Add a Tool
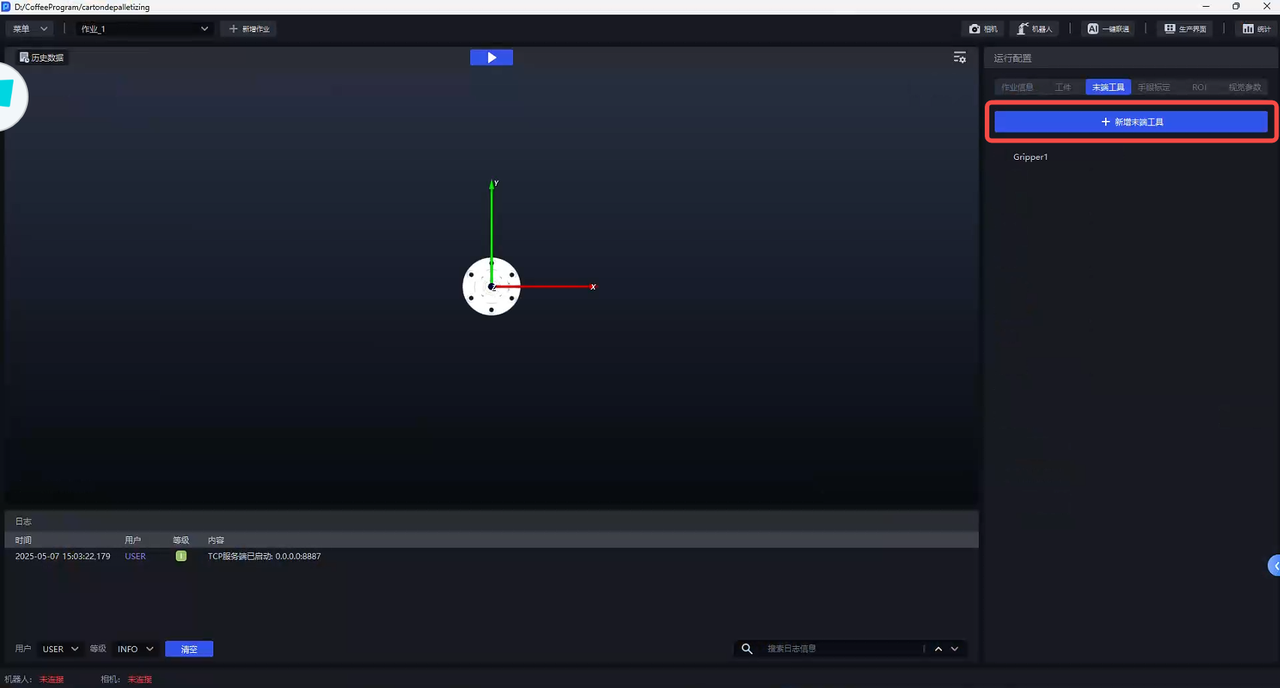
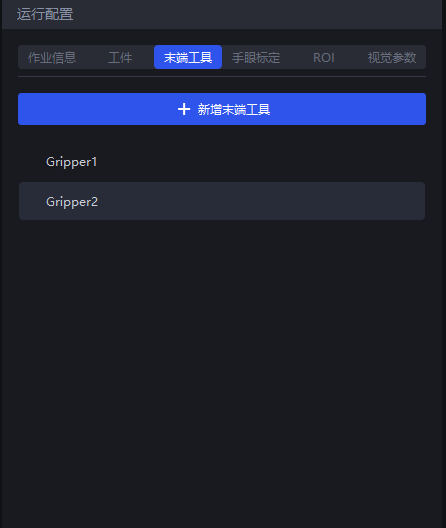
Click Tool under Run Configuration on the right side of the main interface to enter the Tool editing page, and click Add Tool.
Fill in the Tool name, select the Tool type, and upload the CAD file of the Tool model.
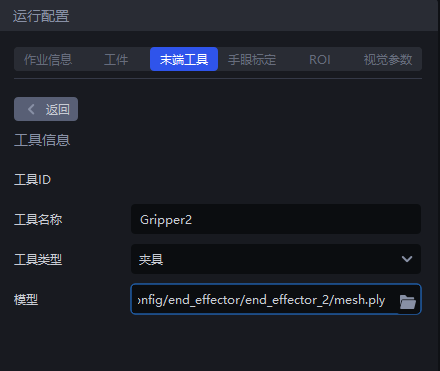
| Configuration Item | Description |
|---|---|
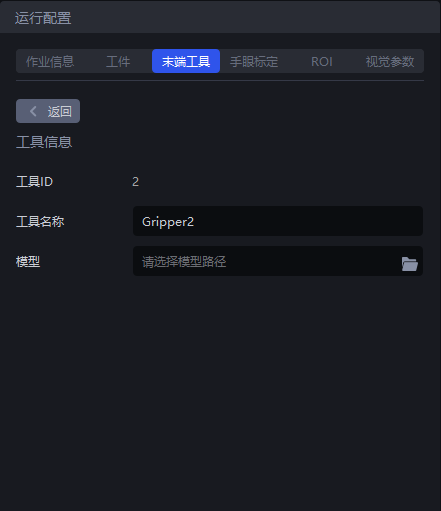
| Tool ID | The current Tool ID and does not need to be changed |
| Tool Name | The name of the current Tool, editable |
| Tool Type | The type of the current Tool. Set it according to the actual situation. The default selection is gripper |
| Tool Model | The upload location for the CAD file of the current Tool model. Click the file icon on the right to select the Tool model file. Supported file formats: .ply / .obj / .stl / .STL |
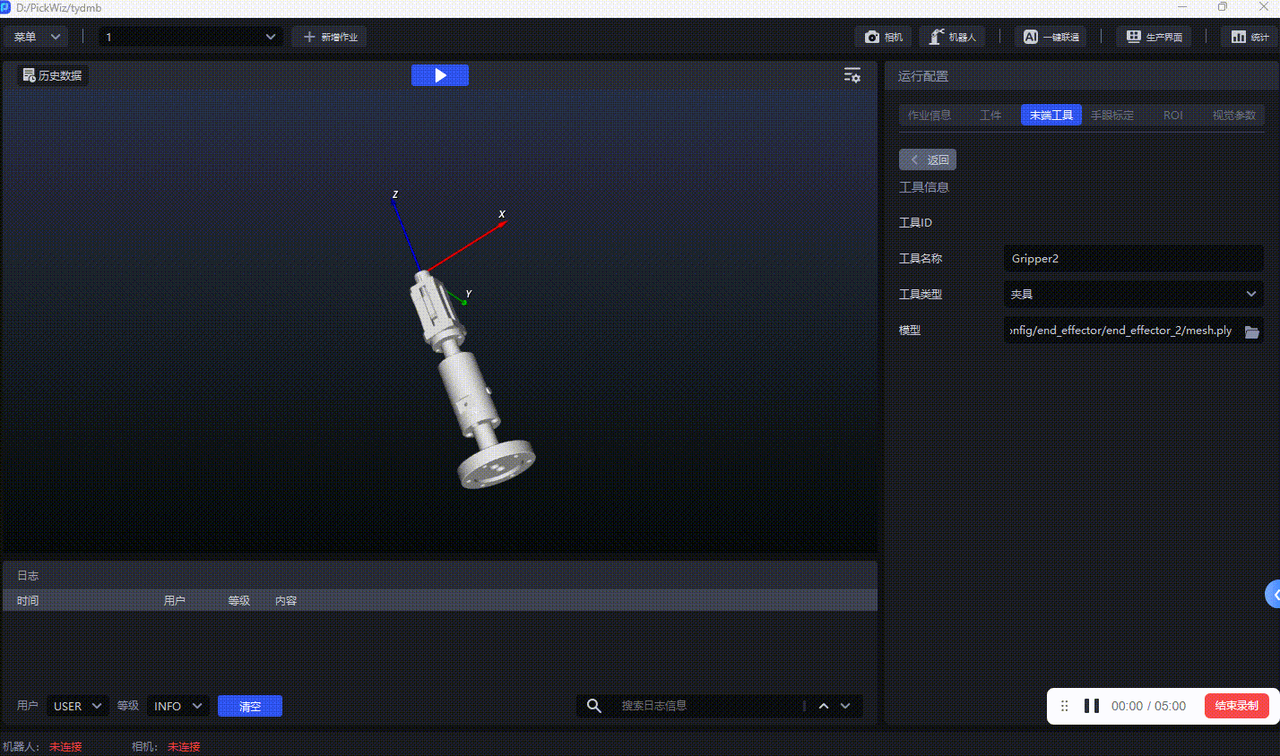
As shown in the following figure, after uploading the CAD of the Tool, you can view the Tool model in the visualization window on the left. You can long-press and drag to view the model from different angles. After the settings are completed, click Return, and the Tool configuration will be saved automatically.
2. Modify a Tool
If you need to modify the Tool configuration, click Tool under Run Configuration on the right side of the main interface to enter the Tool editing page, and click the Tool to be modified for editing. After the modification is completed, click Return, and the Tool configuration will be saved automatically.
3. Delete a Tool
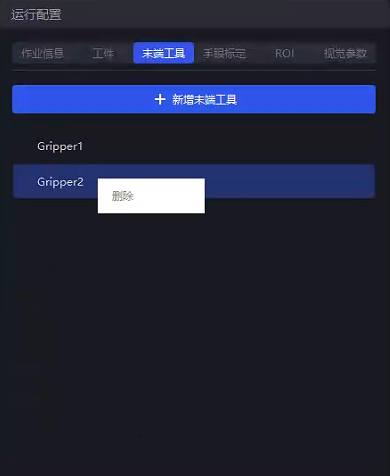
If you need to delete a Tool configuration, right-click the Tool to be deleted and click Delete.
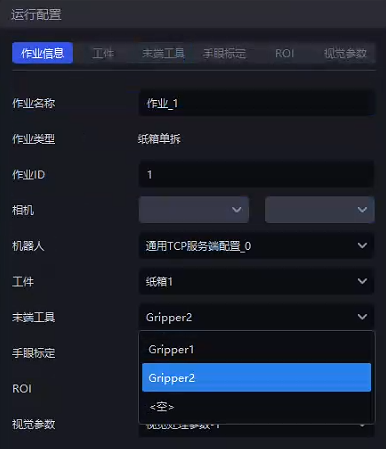
4. Select a Tool in a task
After adding/modifying a Tool, click task Information under Run Configuration, click the drop-down box at “Tool”, and select the corresponding Tool according to actual needs.