Vision Classification Guide
The Vision Classification function is used to identify features such as different textures and different orientations of the same workpiece. This article mainly introduces how to adjust related visual parameters after enabling Vision Classification.

1. Operation Guide
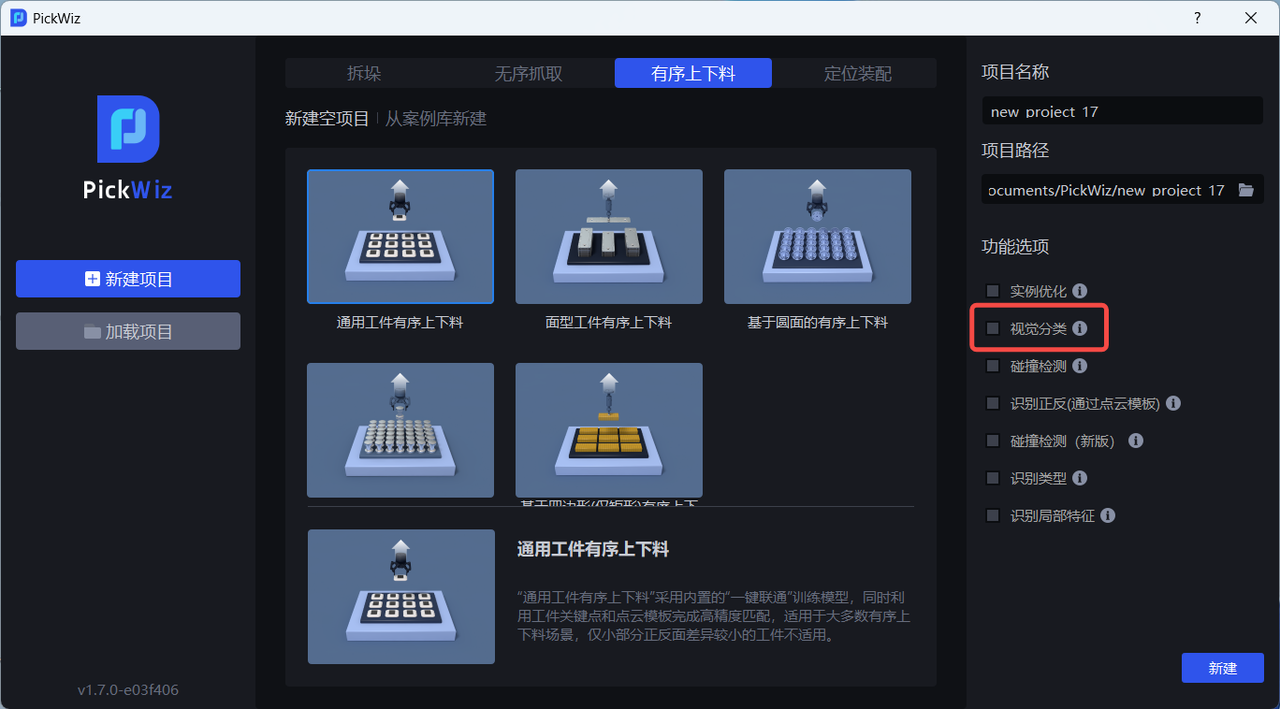
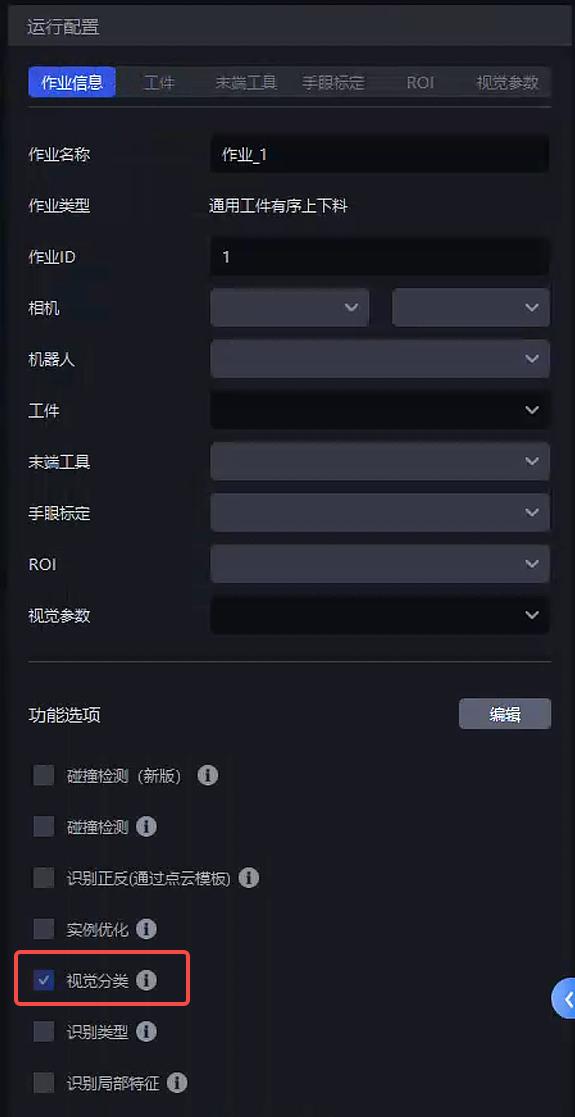
When the same workpiece in the actual scene has different textures, different orientations, or other features, enable the Vision Classification function when creating a new project; if it was not enabled when creating the new project, go to the task Information page, click Edit in the lower right corner, and then enable Vision Classification
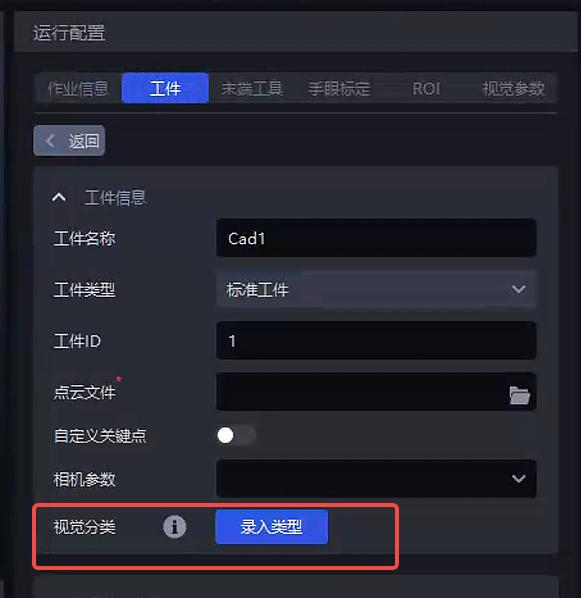
On the workpiece page - Vision Classification, click Enter Type to open the Type Entry Tool
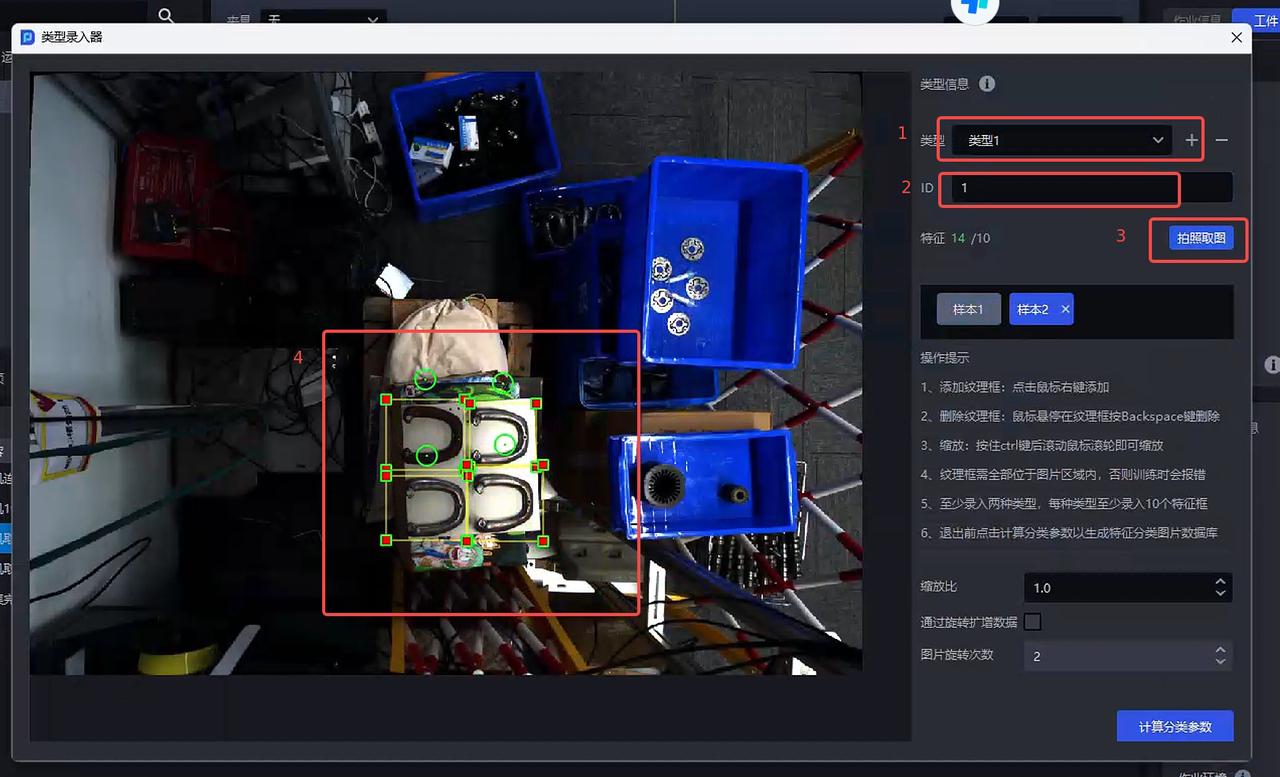
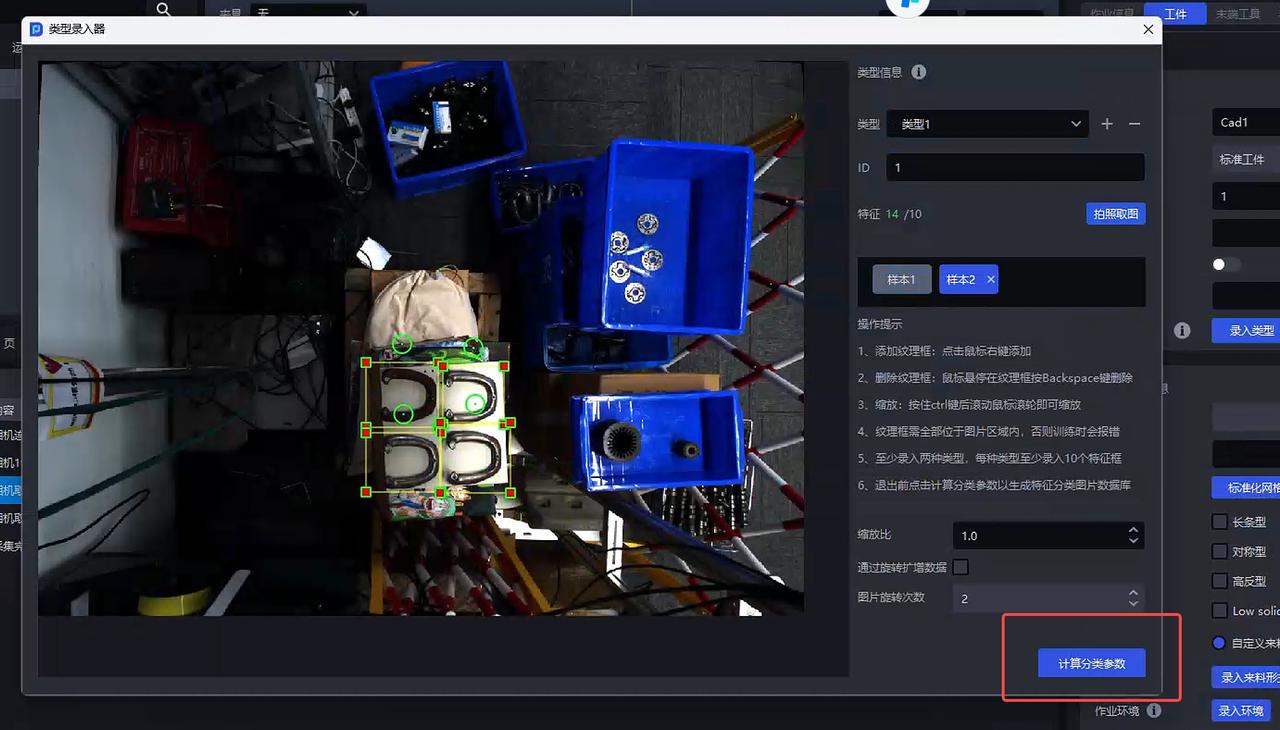
Type Entry
Click + to add a type
Fill in the type id
Take a photo
Select the corresponding image area in the image, and enter at least 10 samples for each type
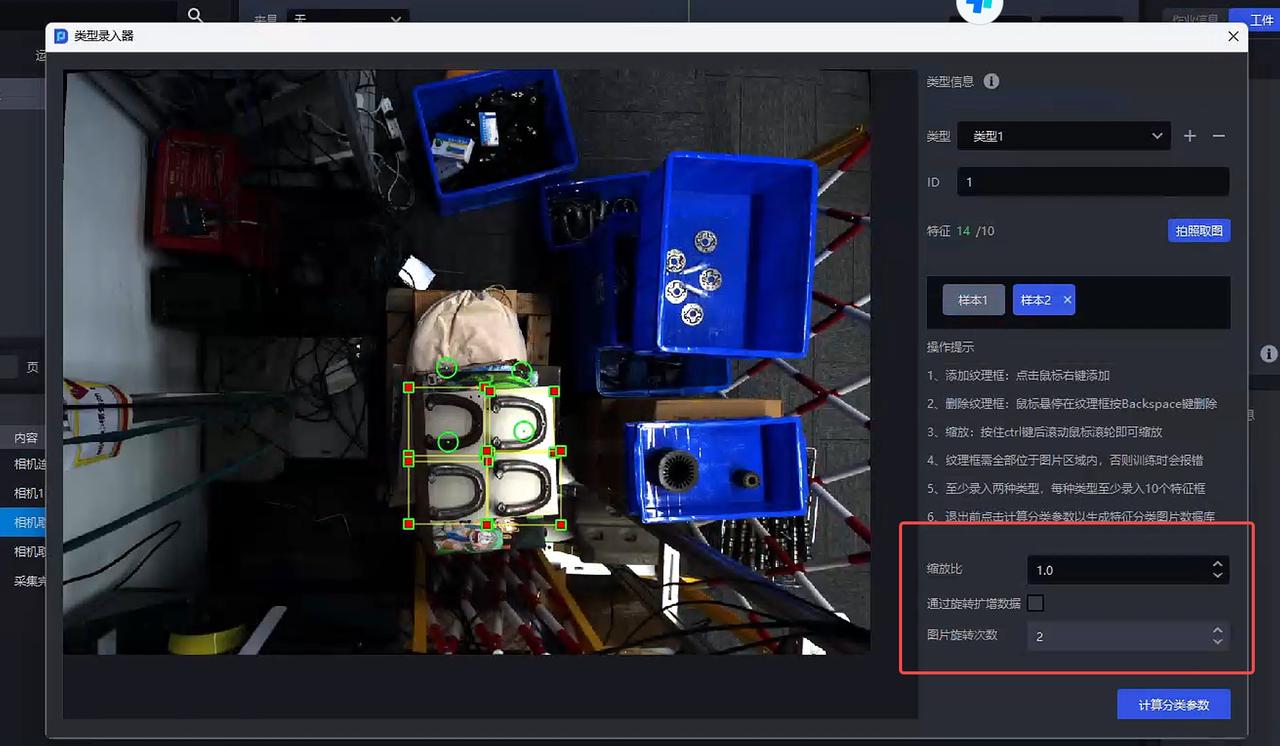
Adjust parameters
| Parameter | Description | Default Value | Value Range | Tuning Suggestion |
|---|---|---|---|---|
| Scale Ratio | Scale the images in the entered type database to extract image features. The smaller the scale ratio, the faster the category information is calculated. | 1.0 | 0.1 - 2.0 | 1.0 |
| Augment Data by Rotation | Rotate the entered type images to augment the number of images in the type database | Checked | / | / |
| Image Rotation Count | After checking Augment Data by Rotation, the number of images in the database is augmented according to the Image Rotation Count. For example, if the image rotation count is 4, the image rotates counterclockwise by 90° (360°/4) each time, for a total of 4 rotations; if the image rotation count is 3, the image rotates counterclockwise by 120° (360°/3) each time, for a total of 3 rotations | 2 | [1,360] | The larger the value, the more image angles are augmented |
The Scale Ratio affects the Takt Time of Vision Classification. The smaller the Scale Ratio, the faster the Takt Time. The normal Takt Time of Vision Classification is within 0.5s
Finally, click Calculate Classification Parameters and close the Type Entry Tool
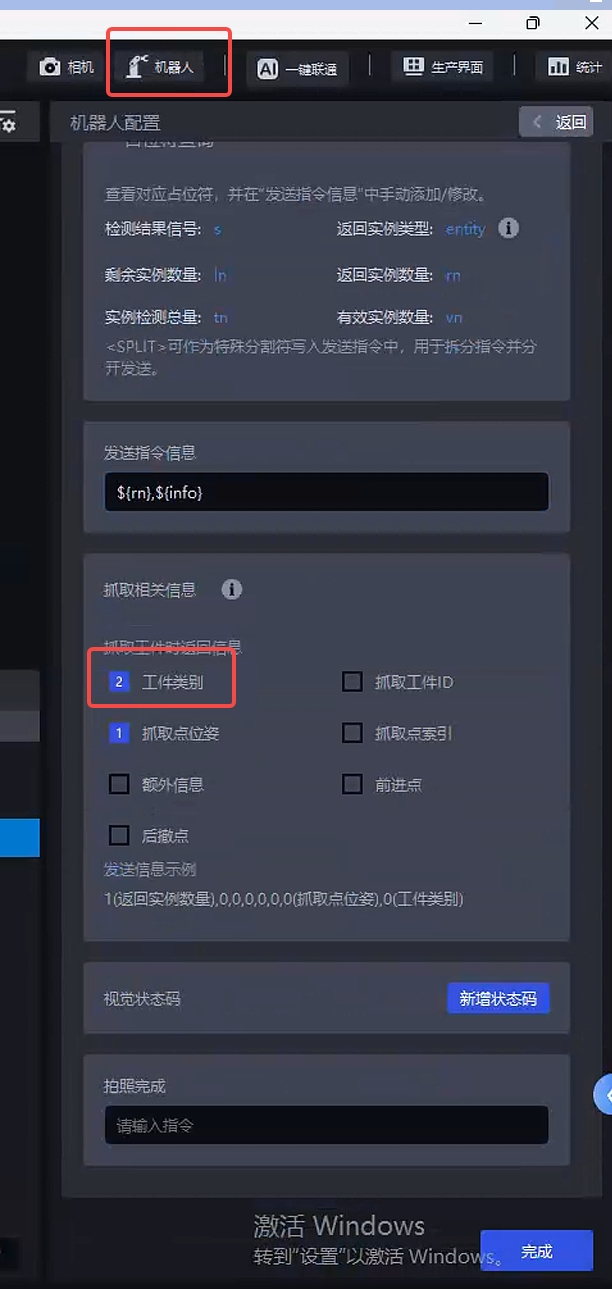
Return category information
Click the Robot panel to open Robot Configuration. In the picking-related information, enable Workpiece Category so that the robot can obtain the relevant category information
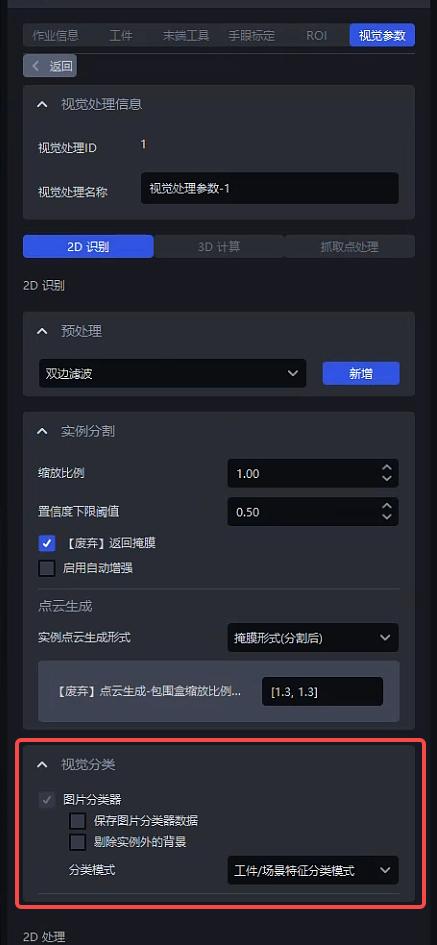
2. Tuning Guide
After selecting each configuration item in task Information, adjust parameters in Visual Parameters - 2D Recognition - Vision Classification
| Parameter | Description | Default Value | Value Range | Tuning Suggestion |
|---|---|---|---|---|
| Save Image Classifier Data | When checked, save the information entered in the Type Entry Tool | Checked | / | Usually no adjustment is needed |
| Remove the Background Outside the Instance | When checked, the images used for Vision Classification detection only keep the Mask region and remove the image Background, which can reduce the impact of the image Background on category judgment. | Unchecked | / | Usually no adjustment is needed |
| Classification Mode |
| Workpiece/Scene Feature Classification Mode |
| When the workpiece and scene are similar and differ only in color, use Color Classification Mode. In all other cases, use the default Workpiece/Scene Feature Classification Mode |
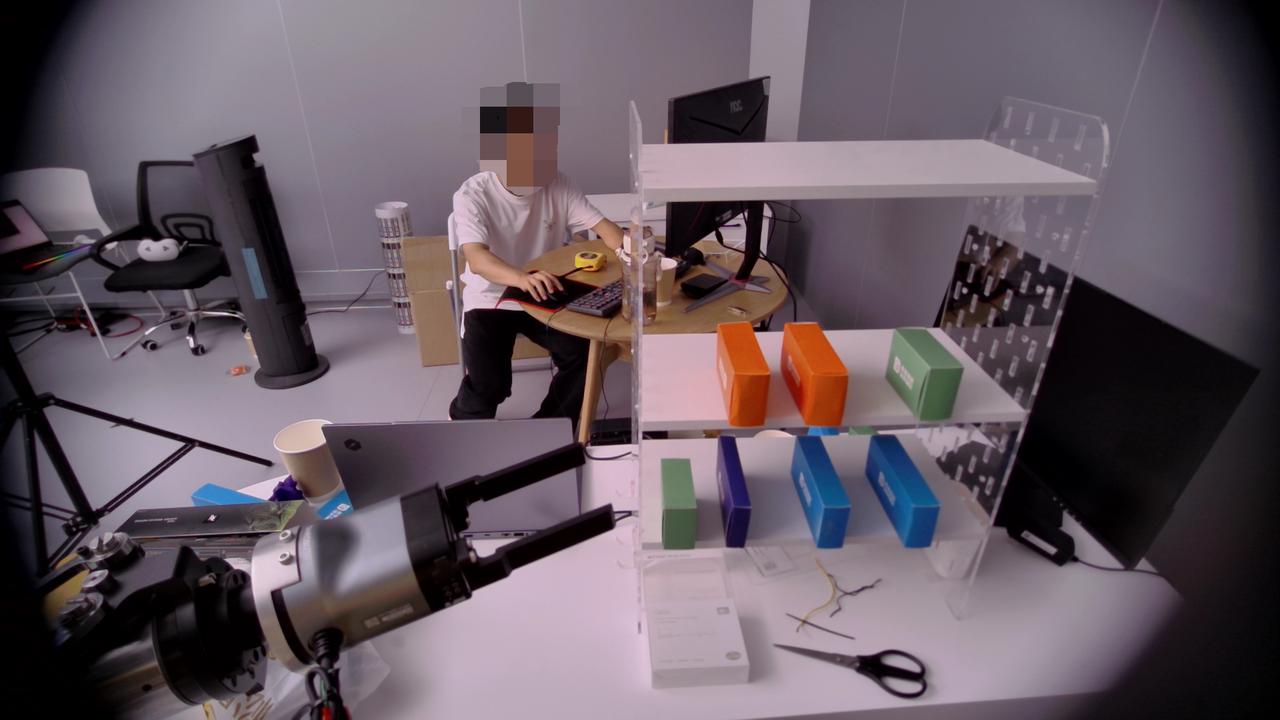
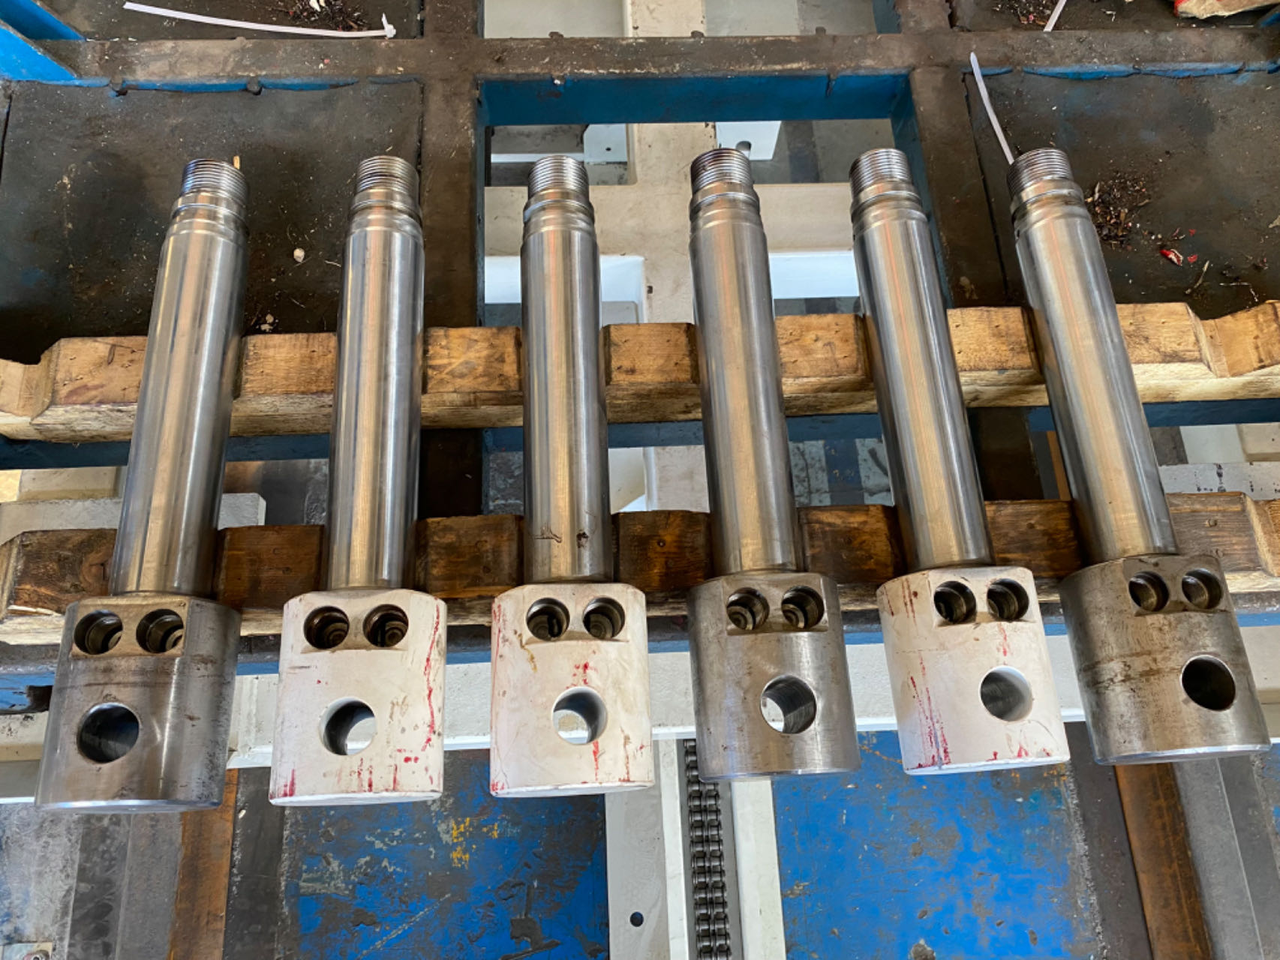
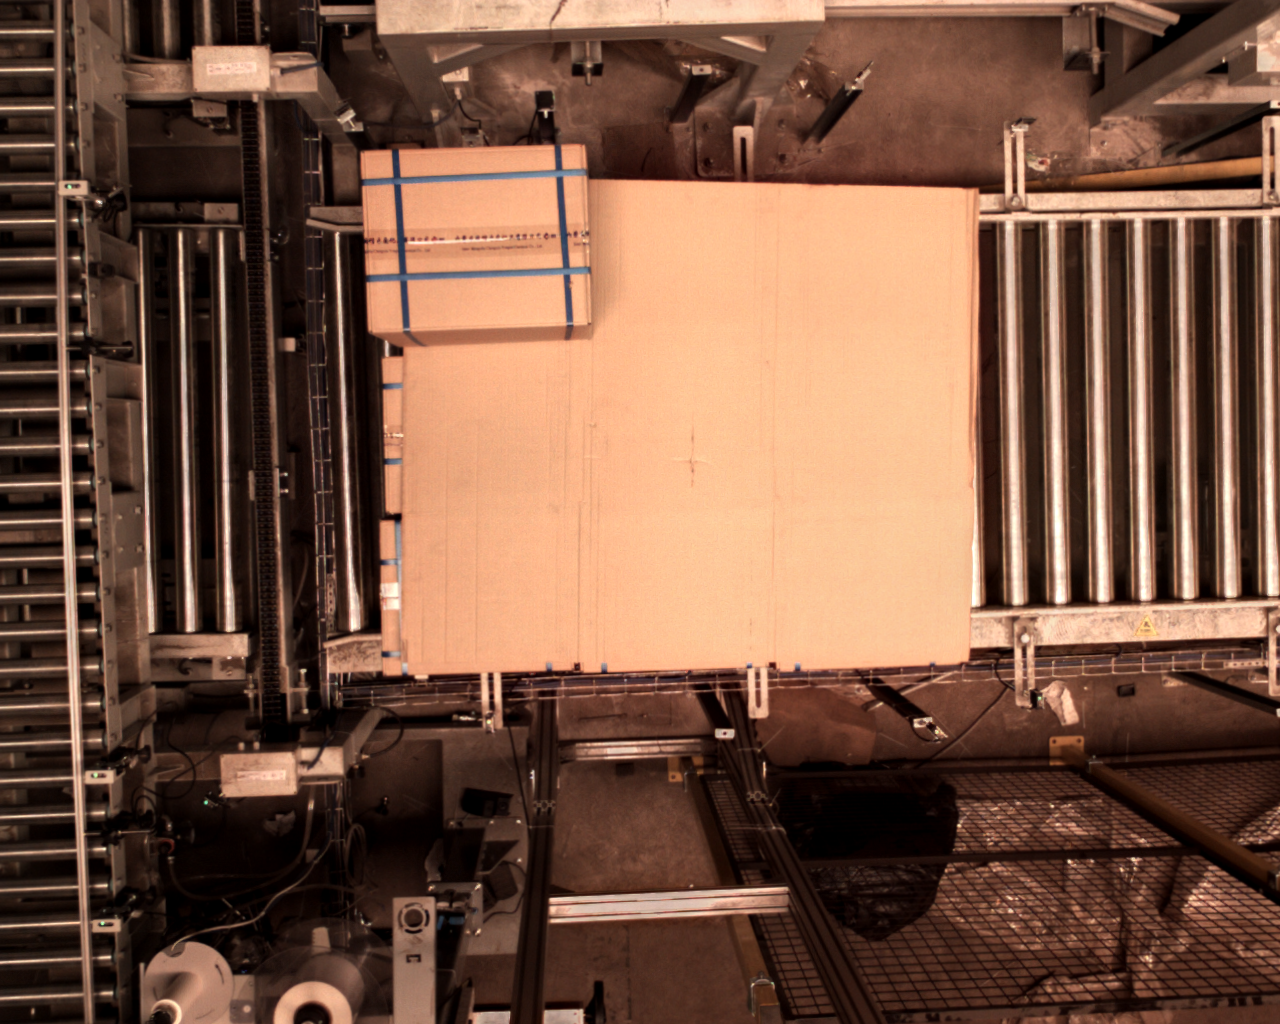
Example: The workpiece/scene features are obvious, so use Workpiece/Scene Feature Classification Mode for classification.

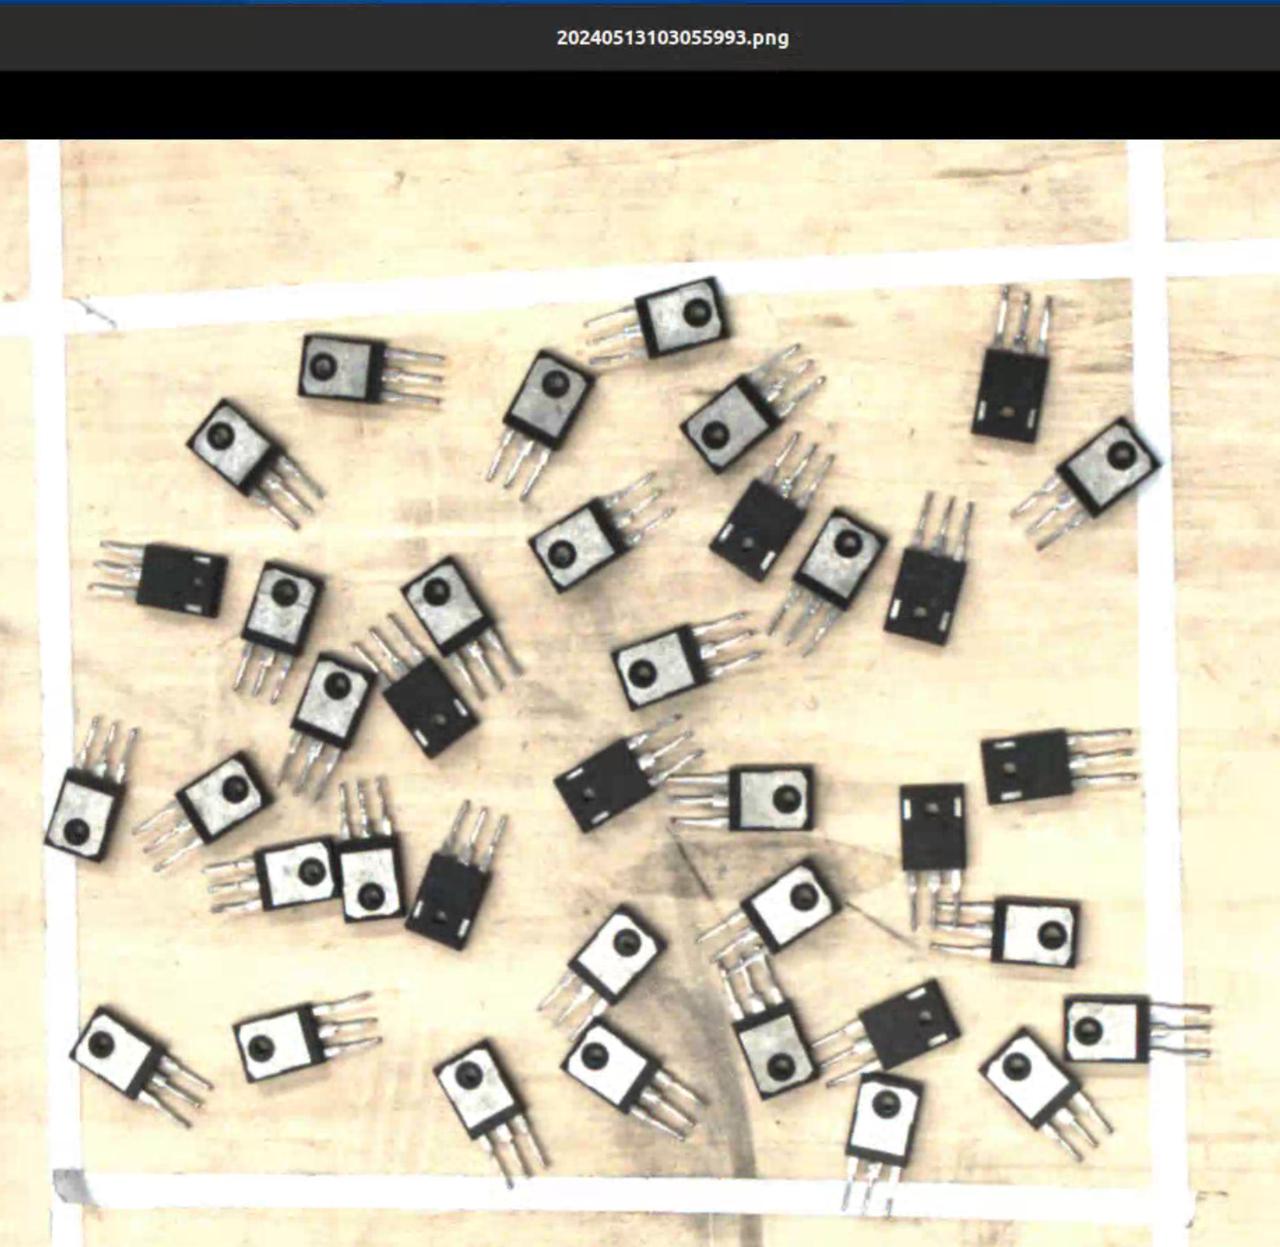
Example: The color features are obvious, so use Color Classification Mode for classification.